Category Archives: ANFSCD

ANFSCD: A Very Harry Halloween

Warning ahead of time… it gets a bit.. um.. collegey in this post.

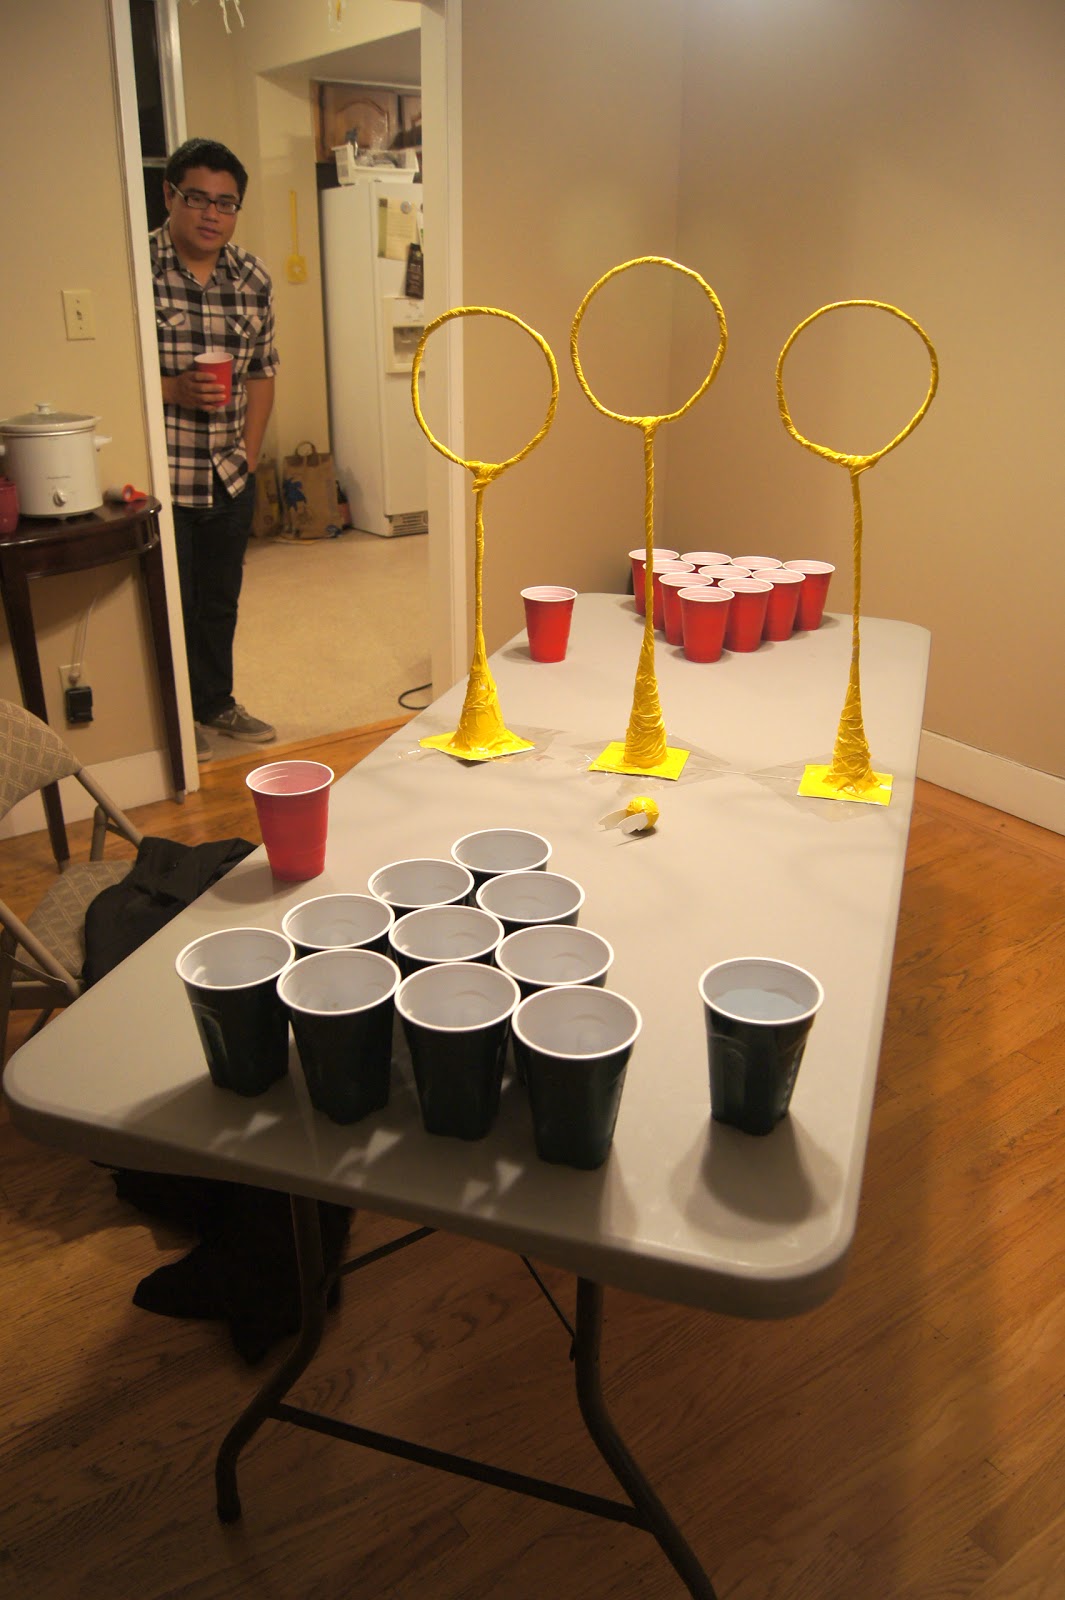
For this Halloween my friends and I decided to go a bigger then just a simple Halloween party. We decided, why not do a Harry Potter Party, and man was it a success. We had apple cider, butter beer, trivia, movies, expelliarmis shots, and of course… Quidditch Pong.

What’s Quidditch Pong Louis? Good question, Louis. Quidditch Pong is a personal invention that mixes the timely art of beer pong, and the amazing wizard sport Quidditch.

First you have to make the hoops. I made mine with hangers and yellow duct tape. Make sure you make them various sizes!

Then you have to make some butter beer. Here was my recipe:
           7 parts Rootbeer or Cream Soda
           1 part butterscotch schnaaps
           1 part vanilla vodka (for an extra kick!)

You can find some other recipes for butter beer, including non alcoholic, here: http://www.yumsugar.com/Hot-Cold-Butterbeer-Recipe-380247

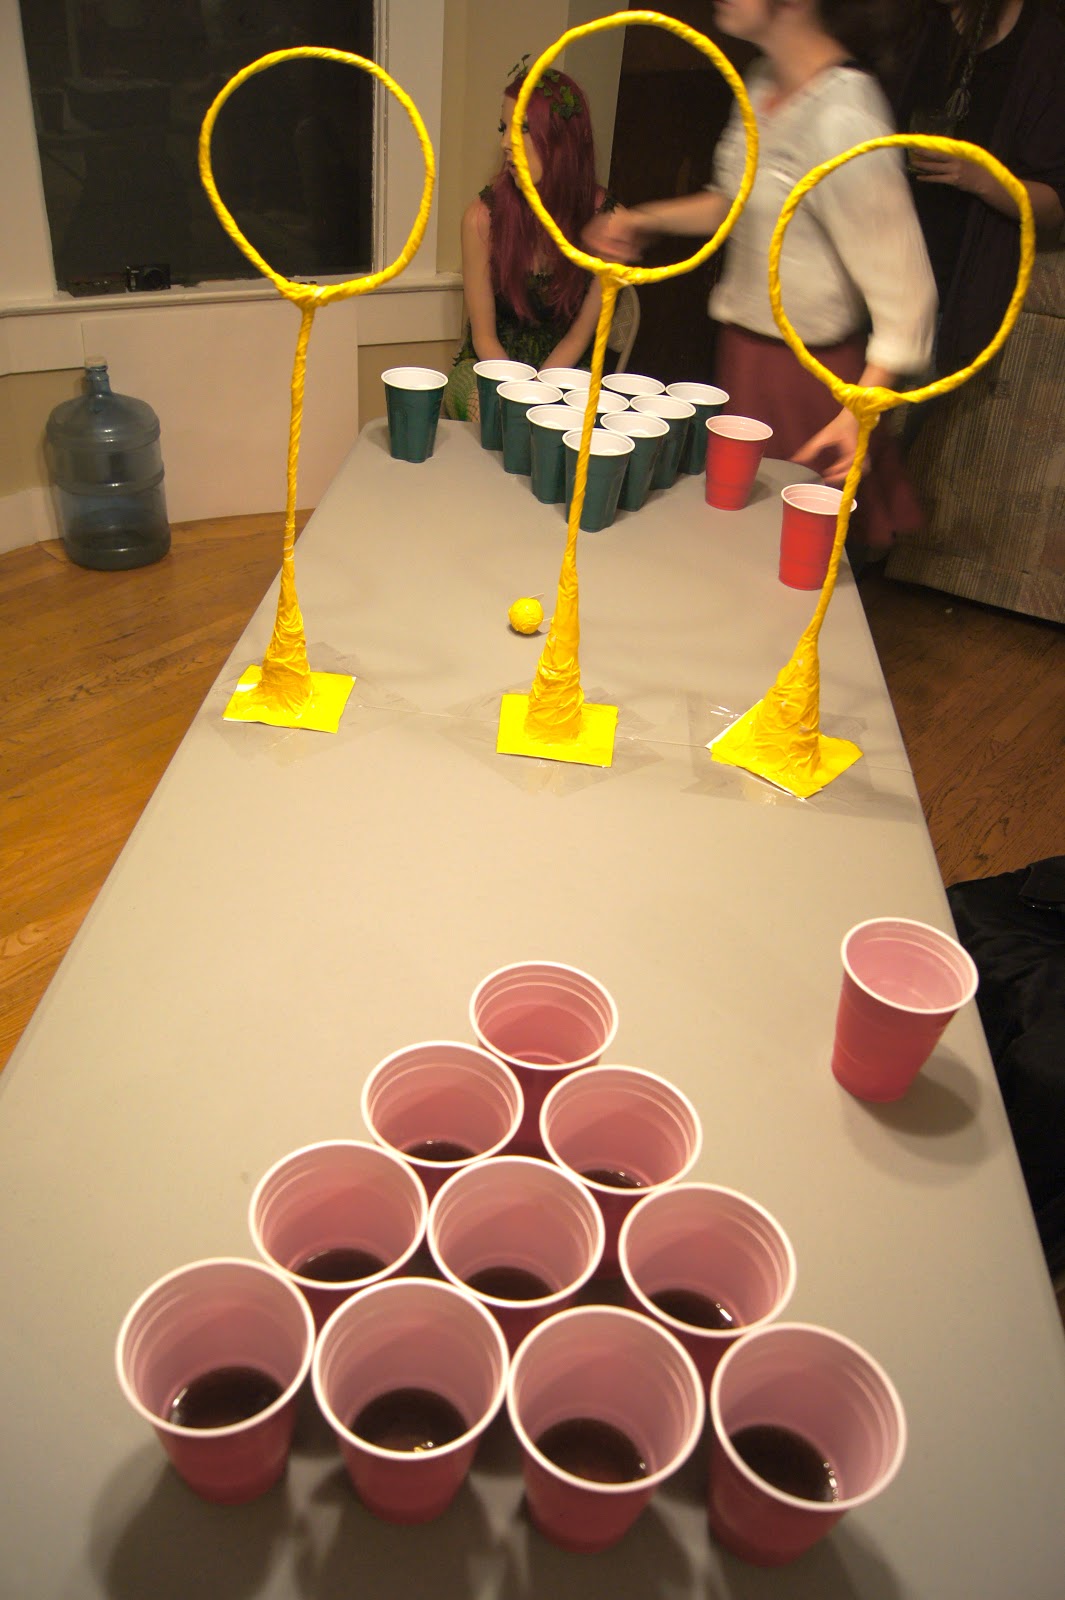
The rules for Quidditch Pong are much like beer pong with a few changes:

  1. Choose what team goes first with your sorting hat!


  2. If the quaffle (ping pong ball) goes through a hoop and makes it in the cup it counts as two (much like if the ball were to bounce)
     
  3. If the quaffle goes through a hoop the enemy team is allowed to use there bludgers (hands) to knock it out of the way.
  4. When there is one cup left, the snitch must be used. Trust me, this makes things a lot more difficult. I made my snitch by just wrapping a ball in yellow duct tape and attaching a few wings made out of paper, but you could easily use a yellow ping pong ball with glued on wings.
  5. Enjoy!!
We split the party up into houses to make the game more competitive.
We finished the tri-wizard tornament off with some Expeliarmus Shots! You can find the instructions here: http://www.buzzfeed.com/michaelm70/the-official-harry-potter-shot-4cll

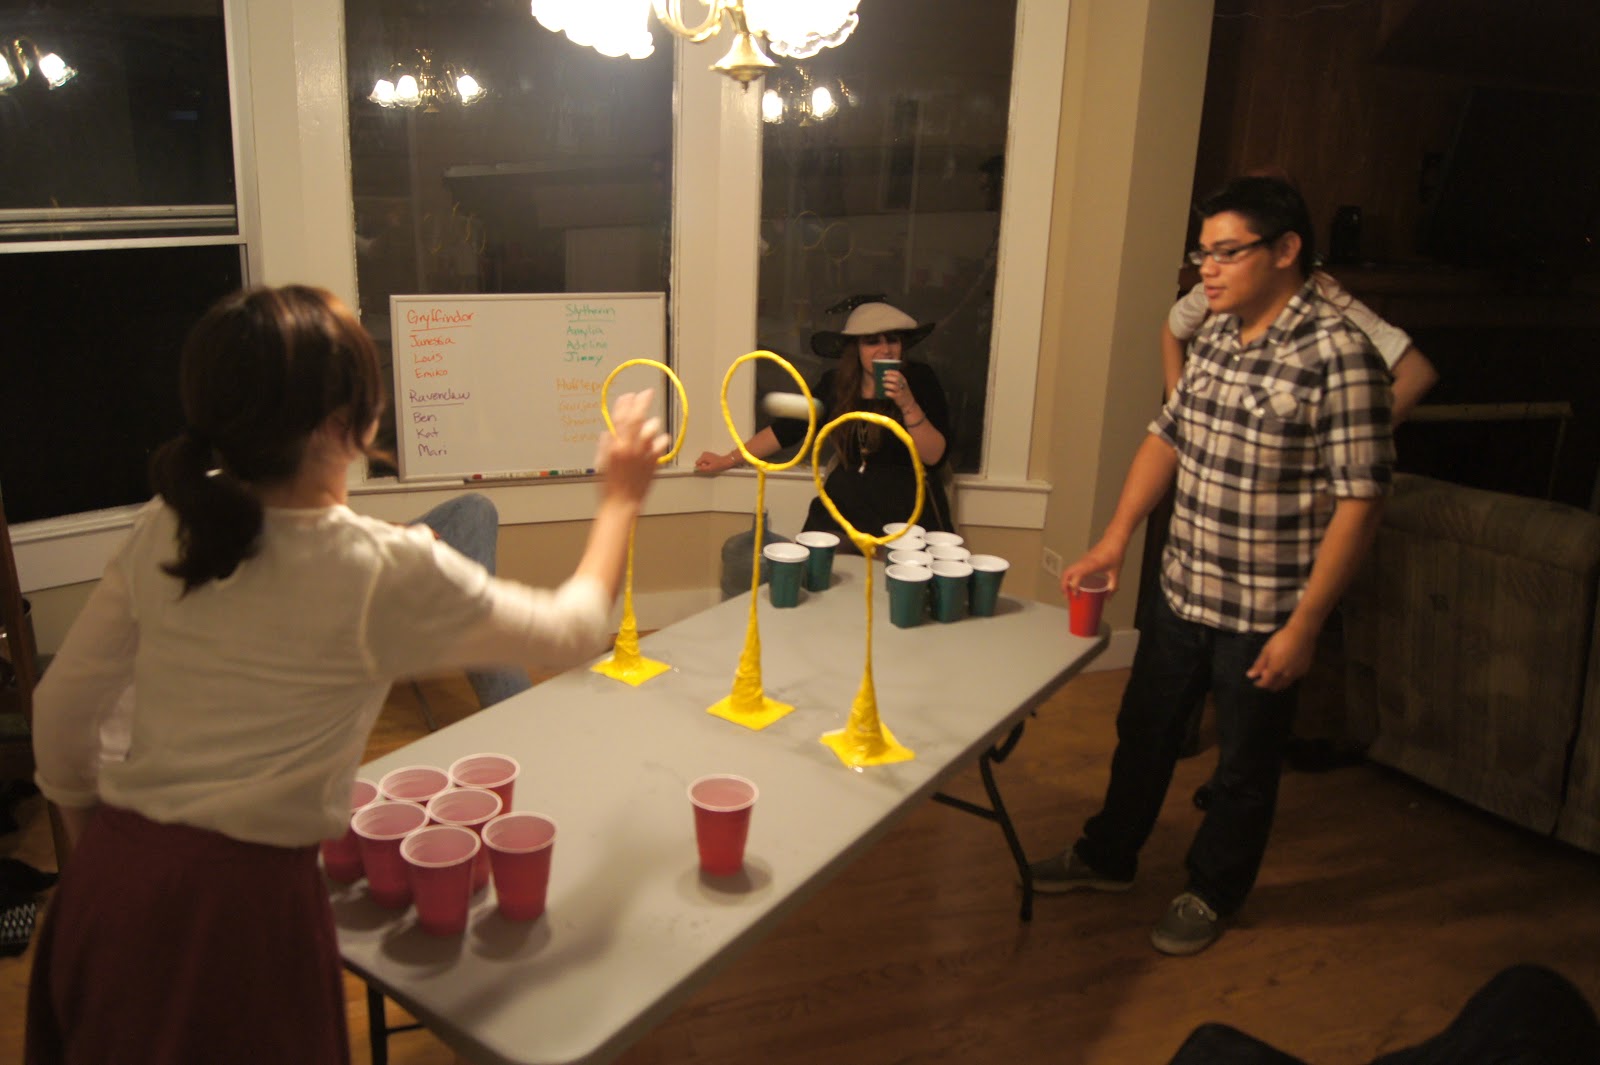
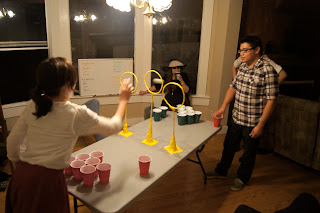
The party went awesomely. We’ll definitely be doing this next year!

Your grandma never made squares this sweet! (Blog Swap!)


Do you remember granny squares? I learned to crochet about 1975 … granny squares were very popular … I made afghans, ponchos and even a doggie sweater. Now in 2012 … I can’t believe that I am making granny square cupcakes! This project looks like many of my needlecraft projects … unfinished!

This is my first blog swap with Brenda at sweetsimplestuff.com! Check out my post here!

This is what you will need:

– Brownie mix (or your own recipe that fits in a 9” x 13” pan) + ingredients that are called for (eggs, water, oil)
– Square cupcake pan
– Cupcake paper liners
– 2 cups your favorite frosting (your choice of color) in a pastry bag with a #17 tip
– ¼ cup melted chocolate/candy melts with a # 9 tip
– Nu Silver Luster Dust

Prepare your brownie batter and line the cupcake pan with the papers.  It is sometimes difficult to find square liners … so I just use the regular round ones and they work!  Also, if you don’t have a square cupcake pan … just bake in a rectangular or square pan and cut squares!

Fill with batter and bake (about 25 minutes) …

Look how they turned out …

Now the fun part … decorating with frosting … start in the center … just like crocheting a real granny square …

Of course you will need a crochet hook … how about a chocolate one?  I used real hooks for reference.  Work on wax paper … simply draw a hook using melted chocolate (or candy melts) … pop in the fridge for a few minutes to harden up …

I used “Nu Silver Luster Dust” and a dry brush to give the hook a bit of a metallic sheen …

Now you can lift the chocolate hook and place it with your “sweet” granny squares …

P. S.  I did find directions and charts for “real crocheted granny squares”  at http://www.knitting-n-crochet.com/granny-square.html 

This is a guest post by my friend Brenda at sweetsimplestuff.com! She offers all kinds of sweet treats that are simply awesome!! I did a guest post on her site too including a new FREE pattern for some crocheted cupcake coasters that you can check out here: http://sweetsimplestuff.com/2012/07/26/cupcakes-fat-free-and-calorie-free. Let me know what you guys think in the comments, and expect a lot more guest posts coming soon!! 🙂

ANFSCD Ep. 1

So I thought it might be pretty neat to start posting something different then crocheting things up here every now and then, thus comes ANFSCD or “And Now for Something Completely Different” Episode 1!

So you may have seen these cool new art things people have been doing around the webs where they melt crayons on canvas to make it look like it’s raining. Well my girlfriend came up with a great idea where we could do the scene from My Neighbor Totoro (her favorite movie) where they’re standing at the bus stop. There’s one way to make these paintings in particular that I liked better then the “original” way which I found a tutorial here, but, I couldn’t get my hot glue gun working, so we just resulted to making it in a whole new, more fun, and more dangeous way! Wooo!!

This is our finished product.

So first I got the image of what we wanted painted on here, then I printed it out and started to cut out the parts we wanted to stencil out and paint on (with acrylic paints, not crayon)

Key note: cut the stencil out of painters tape and then paint it on! I had to do it twice because I’m dumb. Also, when your painting your design on, dab the paint on gently, or it will slide under the tape and make the edges less percise and more fuzzy.

After you have your design painted on, let it dry and then put tape over the design itself (I forgot to take photos, sorry :/). Also put little tabs up so the “rain” runs over the umbrella. This tutorial shows how to do this all wayyy better haha.

So, like I said earlier, I couldn’t get the glue gun working, so we did it the “old fashion” way. We just took a lighter and melted the crayons manually!

I have to say, I think it was a lot of fun doing it this way haha.

Finally peel off the tape reveling your finished product! Here’s ours!

I really like how it turned out, and I think it was an awesome first attempt! Look for lots more of these coming soon!!