Author Archives: Louis Mensinger

How to make: ? Block


This month I’m dedicating entirely to the Mushroom kingdom! Why? Because why not!?You can learn how to make all the different miniature Mario villians and items with my new Crocheted Mini Mario Villains pattern bundle in my shop here:
https://www.etsy.com/shop/LouiesLoops?section_id=10439780 <

And check out the free video pattern for a mini ? Block below!!

_ _ _ _ _ _ _ _ _ _ _ _ _ _ _ _ _ _ _ _ _ _ _ _ _ _ _ _ _ _ _ _ _ _ _ _ _ _ _ _ _ _ _ _ _ _ _ _ _ _ _ _ _ _ _ _ _ _
Materials needed:
– Worsted Weight Yarn
– 7  Mesh Plastic Canvas
– Needle to sew in ends
Stitches used:
– None
Difficulty: ● ● ● ● ○
*Includes video tutorials!*


Part 1:
Time stamps in red are for video 1
 
Cut out 6 squares 5×5 out of the mesh plastic. (1:30 – 3:30 )
Cut the edges to make them smooth.
 
Using two strands of yellow yarn and a sharp needle sew the color fully onto the mesh plastic from corner to corner. (3:30 – 7:30 )

When it’s fully covered tie it together in the back and cut loose

 
Repeat this process for all 6 squares
 
For 4 out of the 6 squares:
Using a strand of white yarn sew on a ? on the face (1:30 – 12:00 )
 
 
Part 2:


(view diagrams above for extra help)

Using 2 long strands of yellow yarn and a sharp, long needle, begin sewing together 2 squares, 1 “?” and one blank. This “?” will act as our front and the blank will act as our top. (1 above)
Work down and connect another “?” which will act as our right side (2)
Work back across connecting another “blank” side, acting as our bottom (3)
Work back up, towards where we started connecting yet another “?” side, this will act as our left side (4)
Work towards the back connecting our left and top panels (5)
Work across to the right side connecting our final “?” panel, this will act as our back side (6)
Going back down, connect our back and right panels (7)
Across to the left, connect the bottom and back panels (8)
Working back up, connect the left and back panels together (9)
Pull the yarn and needle through and across, back to the beginning of where 9 started, be sure to work on the inside of the cube. Working back towards the front, sew together the bottom and left side of the piece (10)
Pull the yarn across to the right side and work together the right side and bottom panels, working towards the back panel (11)
Stuff slightly here by pinching the piece together (opening a side) and stuffing with a pencil.
Finally pull the yarn towards the top, through the cube itself (not the outside) and sew together the top and right panels (12)
Cut and hide both ends into the piece.


And don’t forget, you can learn how to make the whole lot of these characters, as well as how to make the shell into a Blue Shell with the new eBook in my shop here:

>> https://www.etsy.com/shop/LouiesLoops?section_id=10439780 <<

Subscribe on YouTube or follow me on Twitter, Instagram, or Facebook to get notified of new videos every week!

How to crochet: a Mario Shell

This month I’m dedicating entirely to the Mushroom kingdom! Why? Because why not!?You can learn how to make all the different miniature Mario villians and items with my new Crocheted Mini Mario Villains pattern bundle in my shop here:
https://www.etsy.com/shop/LouiesLoops?section_id=10439780

And check out the free video pattern for a mini Koopa shell below!!

Materials needed:
– Worsted Weight Yarn
– Size US-I/5.50 mm Crochet Hook
– Needle to sew in ends
Stitches used:
-St : Stitch or stitches
-Sl.st : Slip stitch
-Sc : Single Crochet
Difficulty: ● ● ● ○ ○
*Includes video tutorials!*

Gauge : 5 Rnds and 4 stitches per 1”
Finished piece is about 4” tall
Worked in the round


Pattern: 

Main (Starting in color: Red)
Ch 2
(1:35) Rnd 1: sc 6 in 2nd ch from the hook (6)
(2:00) Rnd 2: sc 2 (inc) in each st (12)
(3:10) Rnd 3: sc in each st around (12)
(4:00) Rnd 4: sc in next st, inc in next st, Repeat 6 times (18)
[4 red, 2 black, 7 red, 2 black, 3 red]
(6:30) Working in back loops for red sts, and both for black
Rnd 5: sc one in first, dec in next, Repeat 6 times (12)
(9:00) Rnd 6: Rnd 6: dec in each (6)
Cut, stuff and sew together

(12:45)

Bottom (In color: Sand)
Rnd 1: sc 6 in 2nd ch from the hook (6)
Rnd 2: sc 2 (inc) in each st (12)
Rnd 3: sc in next st, inc in next st, Repeat 6 times (18)
Cut, sew end in

Border (in color: white)
(15:25) Ch 19
Cut and pull through, leaving a long end

(16:30) Sew the border around the outside of the shell, through the back loops of the ch, front loops from Rnd 4 on the main, and back loops of the bottom.


And don’t forget, you can learn how to make the whole lot of these characters, as well as how to make the shell into a Blue Shell with the new eBook in my shop here:


https://www.etsy.com/shop/LouiesLoops?section_id=10439780

Subscribe on YouTube or follow me on Twitter, Instagram, or Facebook to get notified of new videos every week!

How to crochet: Thor’s Hammer

This Friday the movie that I’ve been waiting years for finally comes out, Avengers: Age of Ultron! You can learn how to make Earth’s tiniest heroes with my Crocheted Mini Avengers – Volume 1 pattern in my shop here:  https://www.etsy.com/listing/179636381/pdf-pattern-for-crocheted-avengers

And check out the free pattern for Thor’s hammer, Mjölnir below!


Materials
-Lion Brand’s Vanna’s Choice (Grey, and Brown)
-Size US-I/5.50 mm Crochet Hook
-Needle to sew in ends

Abbreviations
-Sc : Single Crochet
-Sl.st : Slip stitch
-St : Stitch or stitches
Gauge : 5 Rnds and 4 stitches per 1”
Finished piece is about 4” tall
Worked in the round

Pattern: 
Hammer head
Ch 2
(1:30) Rnd 1: sc 4 in 2nd ch from the hook (4)
(2:10) Rnd 2: Working in back loops only (BLO), sc in each st around  (4)
(3:25) Rnd 3: sc in each st around (4)
(4:40) Rnd 4: sc in each st around (4)

Cut and sew together

Handle
Ch 4
(8:25) Rnd 1: sl.st in each ch across (3)

Cut and sew onto hammer head.


Subscribe on YouTube or follow me on Twitter, Instagram, or Facebook to get notified of new videos every week!

How to crochet: Plant’s vs. Zombies Mushroom by Aradiya Toys!

Hey Guys! Today I’ve got a totally special guest post for you!! Have you ever heard of AradiyaToys? She makes seriously amazing amigurumi and sells the patterns for them on her Etsy here! Well today she decided to share one of her patterns with us! So here’s a free pattern for a Sun-shroom from the game Plant’s vs. Zombies! Make sure to check out her shop to get some more amazing patterns for her too!!! Without further ado, take it away Aradiya!


Instruments and materials
– 1.00 mm hook
– Yellow, milky white, brown and black yarn
– Sewing needle
– Stuffing material

Sun-shroom is character of the popular game “Plants vs Zombies”, that was developed and released by PopCap Games.

This toy are crocheted with “Iris” yarn. They are 100% cotton, 150m/25g. To create toy with a height of 4.5 cm, you must crochet with single yarn using a 1.00 mm hook. The stuffing material used in this toy is polyester wadding.


Continue reading

How to crochet: A Yoshi / Easter Egg


Easter’s coming up, and the new Yoshi game, Yoshi’s Wooly World is coming out soon too, so I thought it would be fun to make this weeks pattern a mini Yoshi’s Egg!

But seeing as easter is here too, I decided to show you guys a few techniques I use to make them easter eggs too!

Oh, and if you’re not really a crocheter, these are also now available in the Etsy store here for only $5 too!

Without further ado, here’s the pattern for a miniature Yoshi / Easter Egg!

Hoppy easter!

Continue reading

Etsy Roundup: Knope’s Nick Nacks

Arguably one of the funniest shows of all time, Parks & Rec will be sorely missed. So, reader, you beautiful tropical fish, please treat yo-self to some retail therapy to soothe the burn. We’ll all be okay, probably.


Starting off strong, this hand-embroidered quote hits hard and succinctly described Andy Dwyer in a nutshell. This would be perfect in any dorm, office, or large hole. Bert Macklin would absolutely approve.


Affordable, garbage-can chic, and featuring the Best Band Ever. This pin is a definite no-brainer, and will earn you some serious punk-points if affixed to a leather/jean jacket. Score. The thing is, you can only wear this pin if you can name more than 5 songs. Otherwise, you’re just a middle-school poser.


P.S. Bye-bye Lil’ Sebastian doesn’t count. It is simply too good.


3. Treat Yo Self Hand Hoop
Listen, we all need be kind to ourselves. Buy cashmere slippies, robes of pure satin, etc.  Consider this purchase much healthier than splurging on Krispy Kremes and Chef Boyardee. Tip: Treating yo self should not include severe stomach pain and nausea.)


4. Perdvert Pin
Mmm, imagine all the shocked double-takes you’ll get wearing this pin. Sure, mom’s will probably cross the street with their kids to avoid you and your leather/jean jacket self, but that’s all part of your plan. You’re here to support Perd, statements of the obvious, and Pawnee.


5. Parks & Rec Candles
Oh yes, son. These are 100% real and transcend normal rules of budgeting. Just about PERFECT for that shrine you’ve been building. Once you’ve burned the candle, just clean out the wax residue and you have a Jesus-Leslie that you can drink grape juice out of. Functional!


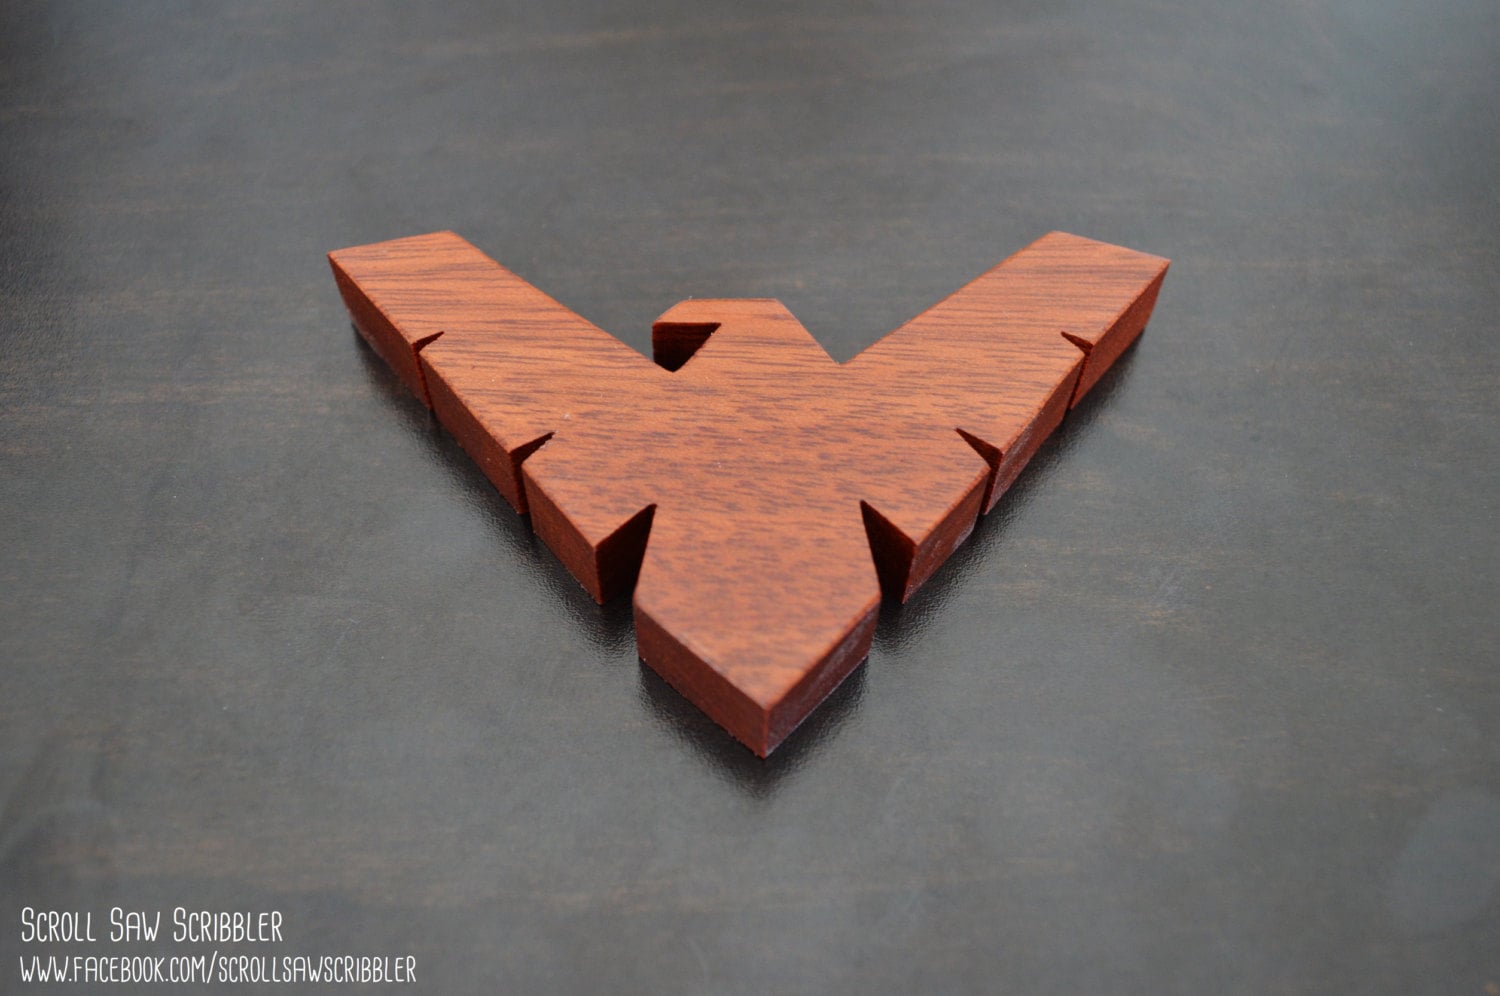
6. Ron Swanson Brooch
I’ll be honest: I thought brooch’s were something that only spinsters and evil stepmothers wore. This appeals to me on a deep and spiritual level that I can’t really explain. The biggest reason this is on the list is because I would look so good in this brooch. People would stop me in the streets and they would know that I can appreciate a fine piece of wood and am very strangely and dysfunctionally attracted to librarians.


7. April Parks & Rec Poster
Have truer words ever been spoken? This poster would be a great gift, or a great addition to any hole or dumpster you choose to hide in while telling your girlfriend you’re living in Europe.
 

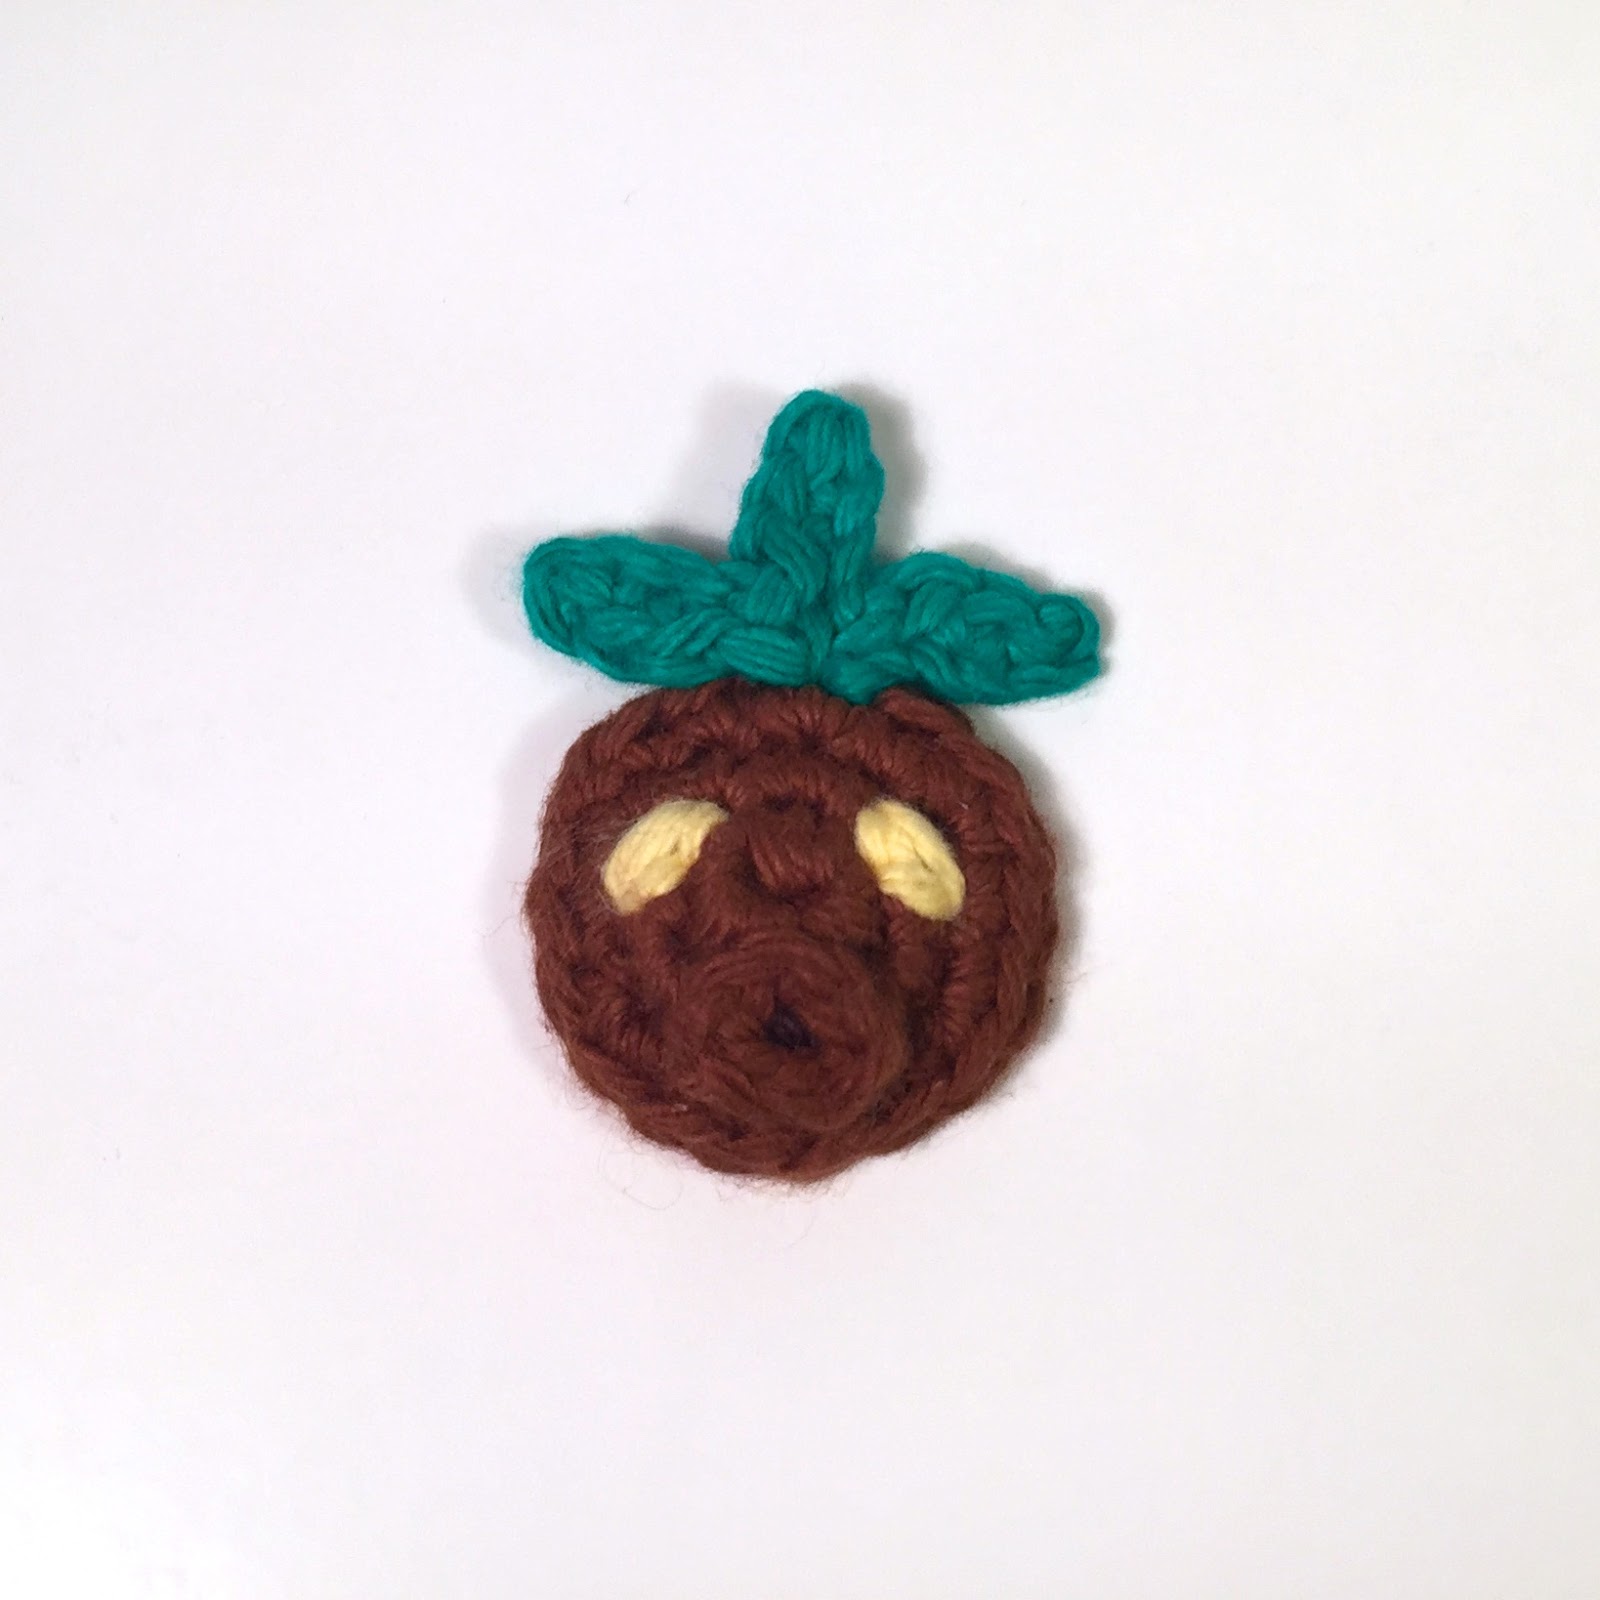
There you have it, some of our favorite Parks & Rec items on Etsy. Did we miss anything? We’ve got some ideas for possible patterns and products we’d like to offer to pay homage to Parks & Rec, like this mini Ron Swanson up on Etsy, with it’s pattern too!! 

Comment down below if you’d like to see more Parks & Rec on Louie’s Loops!

Etsy Roundup: Batman’s Other Utility Belt

Da-nuh-nuh-nuh-nuh-nuh-nuh, BATMAN! I hope you guys aren’t sick of Bruce Weezy (aka Batman), because we spent entirely too long finding the coolest Etsy things available pertaining to our favorite tortured hero.


We’re starting this nerd-train with subtlety, showcasing this minimalist phone decal. For those who aren’t willing to commit fully to the insanity that is fandom life; this is a great choice. The style of the decal fits seamlessly with iPhone and most smartphone designs, for an understated and cool effect. This is how you get the opposite sex to know that you’re interesting and alternative, but you’re also down to watch football on the weekends and get Taco Bell. The best of both worlds!


2. Bane Mask


Functional and stylish, there is actually no reason we can think of not to purchase this awesome hat. Is it a hat? It sort of covers your face, so let’s call it a Face Hat. This Face Hat instantly gives you the power to break billionaires backs and change the course of the free world. Well, not really. But, think about how warm your nose will be!


3. Vinyl Record Clock


Dude, what more is there to say? Made from recycled records, this clock is a panty-dropper for sure. It’s affordable, cool, and will always let you know how late you are to social engagements! Bonus!


For all you puddin’s out there: don’t worry, I haven’t forgotten. This Harley Quinn cosplay mask is seriously CHOICE. With professional grade quality, this durable mask instantly gives you at least +5 hot points. Maybe more. Let’s see your sledgehammer, and then we’ll talk. This shop also offers a variety of other masks and colors. Even as a stand alone piece, this makes a great costume. Plus, who doesn’t love the idea of running around with a mask in their car in case of emergencies? You never know when you might need to save the day.


Well, this is more terrifying than anything else but OH MY GLOB check out dat realism. While part of me is hesitant to include this (because HELLO, nightmares!) the craftsmanship is seriously too good to ignore. While it may be out of your budget for a costume, these masks could also work as installment art or the Coolest Office Decor Of All Time. Dibs on the babe with the comb-over.


6. Batman Shirt


Pretty sweet threads, huh? The biggest thrill comes from the coziness factor, but puns done this well deserve credit. Comfy and cool, I dig it. There are a lot of different styles available, but this one is a favorite.


7. Handmade Nightwing Wooden Magnet


First off, this magnet is apparently made out of Blood Wood. Who knows what weird shamanistic powers this magnet contains? For the low price of $13, you could possibly clean the streets of Gotham or hang up your next set of Domino’s coupons. The possibilities are endless.


So, what do you think? Did we include all of your favorite Batman regalia? Don’t forget to check out some free Batman patterns here. Also I just made a bunch of Batman amiurugumi available in the shop, too, along with the patterns to make them!

Also don’t forget to use the code: BATMAN at checkout to get 15% off!!

How to crochet: a Pie


It’s March 14th (1/14) aka pie day, or π day!

To celebrate here’s a free video pattern for a miniature pie!


Materials
-Lion Brand’s Vanna’s Choice (Maroon, Beige, and Grey)
-Size US-G/4.00 mm Crochet Hook
-Needle to sew in ends
-Stuffing

Abbreviations
-Sc : Single Crochet
-Sl.st : Slip Stitch
-Hps : Half puff stitch (yo, insert hook yo and pull through, yo, insert hook yo and pull through, yo and pull through all 5 loops on the hook)
-Dec/Inc : Decrease/Increase
-St : Stitch or stitches
Gauge : 5 Rnds and 4 stitches per 1”
Finished piece is about 4” tall
Worked in the round

Pattern: 
Ch 2
(1:20) Rnd 1: sc 6 in 2nd ch from the hook (6)
(2:30) Rnd 2: sc and hps (half puff stitch), repeat 6 times (12)
(5:15) Rnd 3: sc in first, hps and sc in next, repeat 6 times (18)
(9:30) Rnd 4: using beige, working in bottom loops only, sl.st in first, sc and sl.st in next, repeat 9 times (27)
Cut and sew in the beige
(10:45) Rnd 5: using grey, working in top loops only, sc in each st around (18)
(13:20) Rnd 6: sc in each st around (18)
(14:15) For criss cross pie, create four pieces of ch 8, and four of ch 4, sew them on to the top of the pie here. Make sure to weave the second half of chs around the first half.
(17:15) Rnd 7: working in top loops only, sc in first, dec in next, repeat 6 times (12)
(18:45) Rnd 8: dec in each (6)
Cut, stuff and sew together

Subscribe on YouTube or follow me on Twitter, Instagram, or Facebook to get notified of new videos every week!

Week of the Bat

This week I’m celebrating one of my favorite super heroes ever, Batman!! I’m slowly but surely writing patterns for all these and adding them to my Etsy, so check there if you want one of the following guys, but message me if you want a custom Batman character! And use the code “BATMAN” to get a discount!!

First off heres a brand new Watch me Crochet with our favorite psychopath, the Joker!!

Now here’s a bunch of pictures of the different characters I’ve made this week! Who’s your favorite? AND HEY I’M DOING A GIVEAWAY!!!!  If you comment on my Facebook, Instagram or Twitter you could win it!!

How to crochet: A Snitch or Fairy

Kay, last Zelda pattern for a bit…. I think….

If you’ve been missing, I’ve been on a bit of a kick as far as Zelda patterns go, to celebrate the new game coming out! Check out the patterns for a Big Deku Mask and Mini Deku Mask posted the past few weeks!!

Now today’s pattern is for a miniature Navi fairy from Zelda or a snitch from Harry Potter!!


Materials
-Lily Sugar ‘n Cream (Blue, Yellow, and White)
-Size US-G/4.00 mm Crochet Hook
-Needle to sew in ends
-Stuffing

Abbreviations
-Sc : Single Crochet
-Sl.st : Slip Stitch
-Dec/Inc : Decrease/Increase
-Hdc : Half-Double Crochet
-St : Stitch or stitches
Worked in the round

Pattern:

Big wings
Ch 7
(1:45) Rnd 1: starting in 2nd ch from the hook, sl.st, sc, hdc, hdc, sc, sc (6)
Cut and pull through leaving long enough end to sew onto body.
Small wings
Ch 3
(2:55) Rnd 1: starting in 2nd ch from the hook, sl.st, hdc (2)
Cut and pull through leaving long enough end to sew onto body, just under/behind the big wings.
Body
Ch 2
(4:00) Rnd 1: sc 6 in 2nd ch from the hook (6)
(4:50) Rnd 2: inc (sc 2) in each st (12)
(6:00) Rnd 3: sc in first 3 sts, inc in next, repeat 3 times (15)
(7:00) Rnd 4 – 6: sc in each st around (15)
(7:45) Rnd 7: sc in first 3 sts, dec in next, repeat 3 times (12)
Sew on wings here
(13:30) Rnd 8: dec in each st (6)

Cut, stuff and sew together

Check out another Zelda pattern, like the one for a mini Deku Mask here!

Subscribe on YouTube or follow me on Twitter, Instagram, or Facebook to get notified of new videos every week!