

So lets get to the free pattern of the day, how to make a bat amigurumi!
Category Archives: Free
How to make: ? Block

This month I’m dedicating entirely to the Mushroom kingdom! Why? Because why not!?You can learn how to make all the different miniature Mario villians and items with my new Crocheted Mini Mario Villains pattern bundle in my shop here:
> https://www.etsy.com/shop/LouiesLoops?section_id=10439780 <
And check out the free video pattern for a mini ? Block below!!
_ _ _ _ _ _ _ _ _ _ _ _ _ _ _ _ _ _ _ _ _ _ _ _ _ _ _ _ _ _ _ _ _ _ _ _ _ _ _ _ _ _ _ _ _ _ _ _ _ _ _ _ _ _ _ _ _ _
|
– Worsted Weight Yarn
– 7 Mesh Plastic Canvas – Needle to sew in ends |
– None
|
Part 1:
Time stamps in red are for video 1
Cut out 6 squares 5×5 out of the mesh plastic. (1:30 – 3:30 )
Cut the edges to make them smooth.
Using two strands of yellow yarn and a sharp needle sew the color fully onto the mesh plastic from corner to corner. (3:30 – 7:30 )
When it’s fully covered tie it together in the back and cut loose
Repeat this process for all 6 squares
For 4 out of the 6 squares:
Using a strand of white yarn sew on a ? on the face (1:30 – 12:00 )
Using a strand of white yarn sew on a ? on the face (1:30 – 12:00 )
Part 2:


(view diagrams above for extra help)
Using 2 long strands of yellow yarn and a sharp, long needle, begin sewing together 2 squares, 1 “?” and one blank. This “?” will act as our front and the blank will act as our top. (1 above)
Work down and connect another “?” which will act as our right side (2)
Work back across connecting another “blank” side, acting as our bottom (3)
Work back up, towards where we started connecting yet another “?” side, this will act as our left side (4)
Work towards the back connecting our left and top panels (5)
Work across to the right side connecting our final “?” panel, this will act as our back side (6)
Going back down, connect our back and right panels (7)
Across to the left, connect the bottom and back panels (8)
Working back up, connect the left and back panels together (9)
Pull the yarn and needle through and across, back to the beginning of where 9 started, be sure to work on the inside of the cube. Working back towards the front, sew together the bottom and left side of the piece (10)
Pull the yarn across to the right side and work together the right side and bottom panels, working towards the back panel (11)
Stuff slightly here by pinching the piece together (opening a side) and stuffing with a pencil.
Finally pull the yarn towards the top, through the cube itself (not the outside) and sew together the top and right panels (12)
Cut and hide both ends into the piece.
And don’t forget, you can learn how to make the whole lot of these characters, as well as how to make the shell into a Blue Shell with the new eBook in my shop here:
>> https://www.etsy.com/shop/LouiesLoops?section_id=10439780 <<
Subscribe on YouTube or follow me on Twitter, Instagram, or Facebook to get notified of new videos every week!
How to crochet: a Mario Shell
This month I’m dedicating entirely to the Mushroom kingdom! Why? Because why not!?You can learn how to make all the different miniature Mario villians and items with my new Crocheted Mini Mario Villains pattern bundle in my shop here:
https://www.etsy.com/shop/LouiesLoops?section_id=10439780
And check out the free video pattern for a mini Koopa shell below!!
|
– Worsted Weight Yarn
– Size US-I/5.50 mm Crochet Hook – Needle to sew in ends |
-St : Stitch or stitches
-Sl.st : Slip stitch -Sc : Single Crochet |
Gauge : 5 Rnds and 4 stitches per 1”
Finished piece is about 4” tall
Worked in the round
 Pattern:
 Main (Starting in color: Red)
Ch 2
(1:35) Rnd 1: sc 6 in 2nd ch from the hook (6)
(2:00) Rnd 2: sc 2 (inc) in each st (12)
(3:10) Rnd 3: sc in each st around (12)
(4:00) Rnd 4: sc in next st, inc in next st, Repeat 6 times (18)
 [4 red, 2 black, 7 red, 2 black, 3 red]
(6:30) Working in back loops for red sts, and both for black
Rnd 5: sc one in first, dec in next, Repeat 6 times (12)
(9:00) Rnd 6: Rnd 6: dec in each (6)
Cut, stuff and sew together
(12:45)
Bottom (In color: Sand)
Rnd 1: sc 6 in 2nd ch from the hook (6)
Rnd 2: sc 2 (inc) in each st (12)
Rnd 3: sc in next st, inc in next st, Repeat 6 times (18)
Cut, sew end in
Border (in color: white)
(15:25) Ch 19
Cut and pull through, leaving a long end
(16:30) Sew the border around the outside of the shell, through the back loops of the ch, front loops from Rnd 4 on the main, and back loops of the bottom.
And don’t forget, you can learn how to make the whole lot of these characters, as well as how to make the shell into a Blue Shell with the new eBook in my shop here:
https://www.etsy.com/shop/LouiesLoops?section_id=10439780
Subscribe on YouTube or follow me on Twitter, Instagram, or Facebook to get notified of new videos every week!
How to crochet: Thor’s Hammer
 This Friday the movie that I’ve been waiting years for finally comes out, Avengers: Age of Ultron! You can learn how to make Earth’s tiniest heroes with my Crocheted Mini Avengers – Volume 1 pattern in my shop here: https://www.etsy.com/listing/179636381/pdf-pattern-for-crocheted-avengers
And check out the free pattern for Thor’s hammer, Mjölnir below!

Materials
-Lion Brand’s Vanna’s Choice (Grey, and Brown)
-Size US-I/5.50 mm Crochet Hook
-Needle to sew in ends
Abbreviations
-Sc : Single Crochet
-Sl.st : Slip stitch
-St : Stitch or stitches
Gauge : 5 Rnds and 4 stitches per 1”
Finished piece is about 4” tall
Worked in the round
Pattern:
Hammer head
Ch 2
(1:30) Rnd 1: sc 4 in 2nd ch from the hook (4)
(2:10) Rnd 2: Working in back loops only (BLO), sc in each st around (4)
(3:25) Rnd 3: sc in each st around (4)
 (4:40) Rnd 4: sc in each st around (4)
Cut and sew together
Handle
Ch 4
(8:25) Rnd 1: sl.st in each ch across (3)
Cut and sew onto hammer head.
-Lion Brand’s Vanna’s Choice (Grey, and Brown)
-Size US-I/5.50 mm Crochet Hook
-Needle to sew in ends
Abbreviations
-Sc : Single Crochet
-Sl.st : Slip stitch
-St : Stitch or stitches
Gauge : 5 Rnds and 4 stitches per 1”
Finished piece is about 4” tall
Worked in the round
Pattern:
Hammer head
Ch 2
(1:30) Rnd 1: sc 4 in 2nd ch from the hook (4)
(2:10) Rnd 2: Working in back loops only (BLO), sc in each st around (4)
(3:25) Rnd 3: sc in each st around (4)
(4:40) Rnd 4: sc in each st around (4)Cut and sew together
Handle
Ch 4
(8:25) Rnd 1: sl.st in each ch across (3)
Cut and sew onto hammer head.
Subscribe on YouTube or follow me on Twitter, Instagram, or Facebook to get notified of new videos every week!
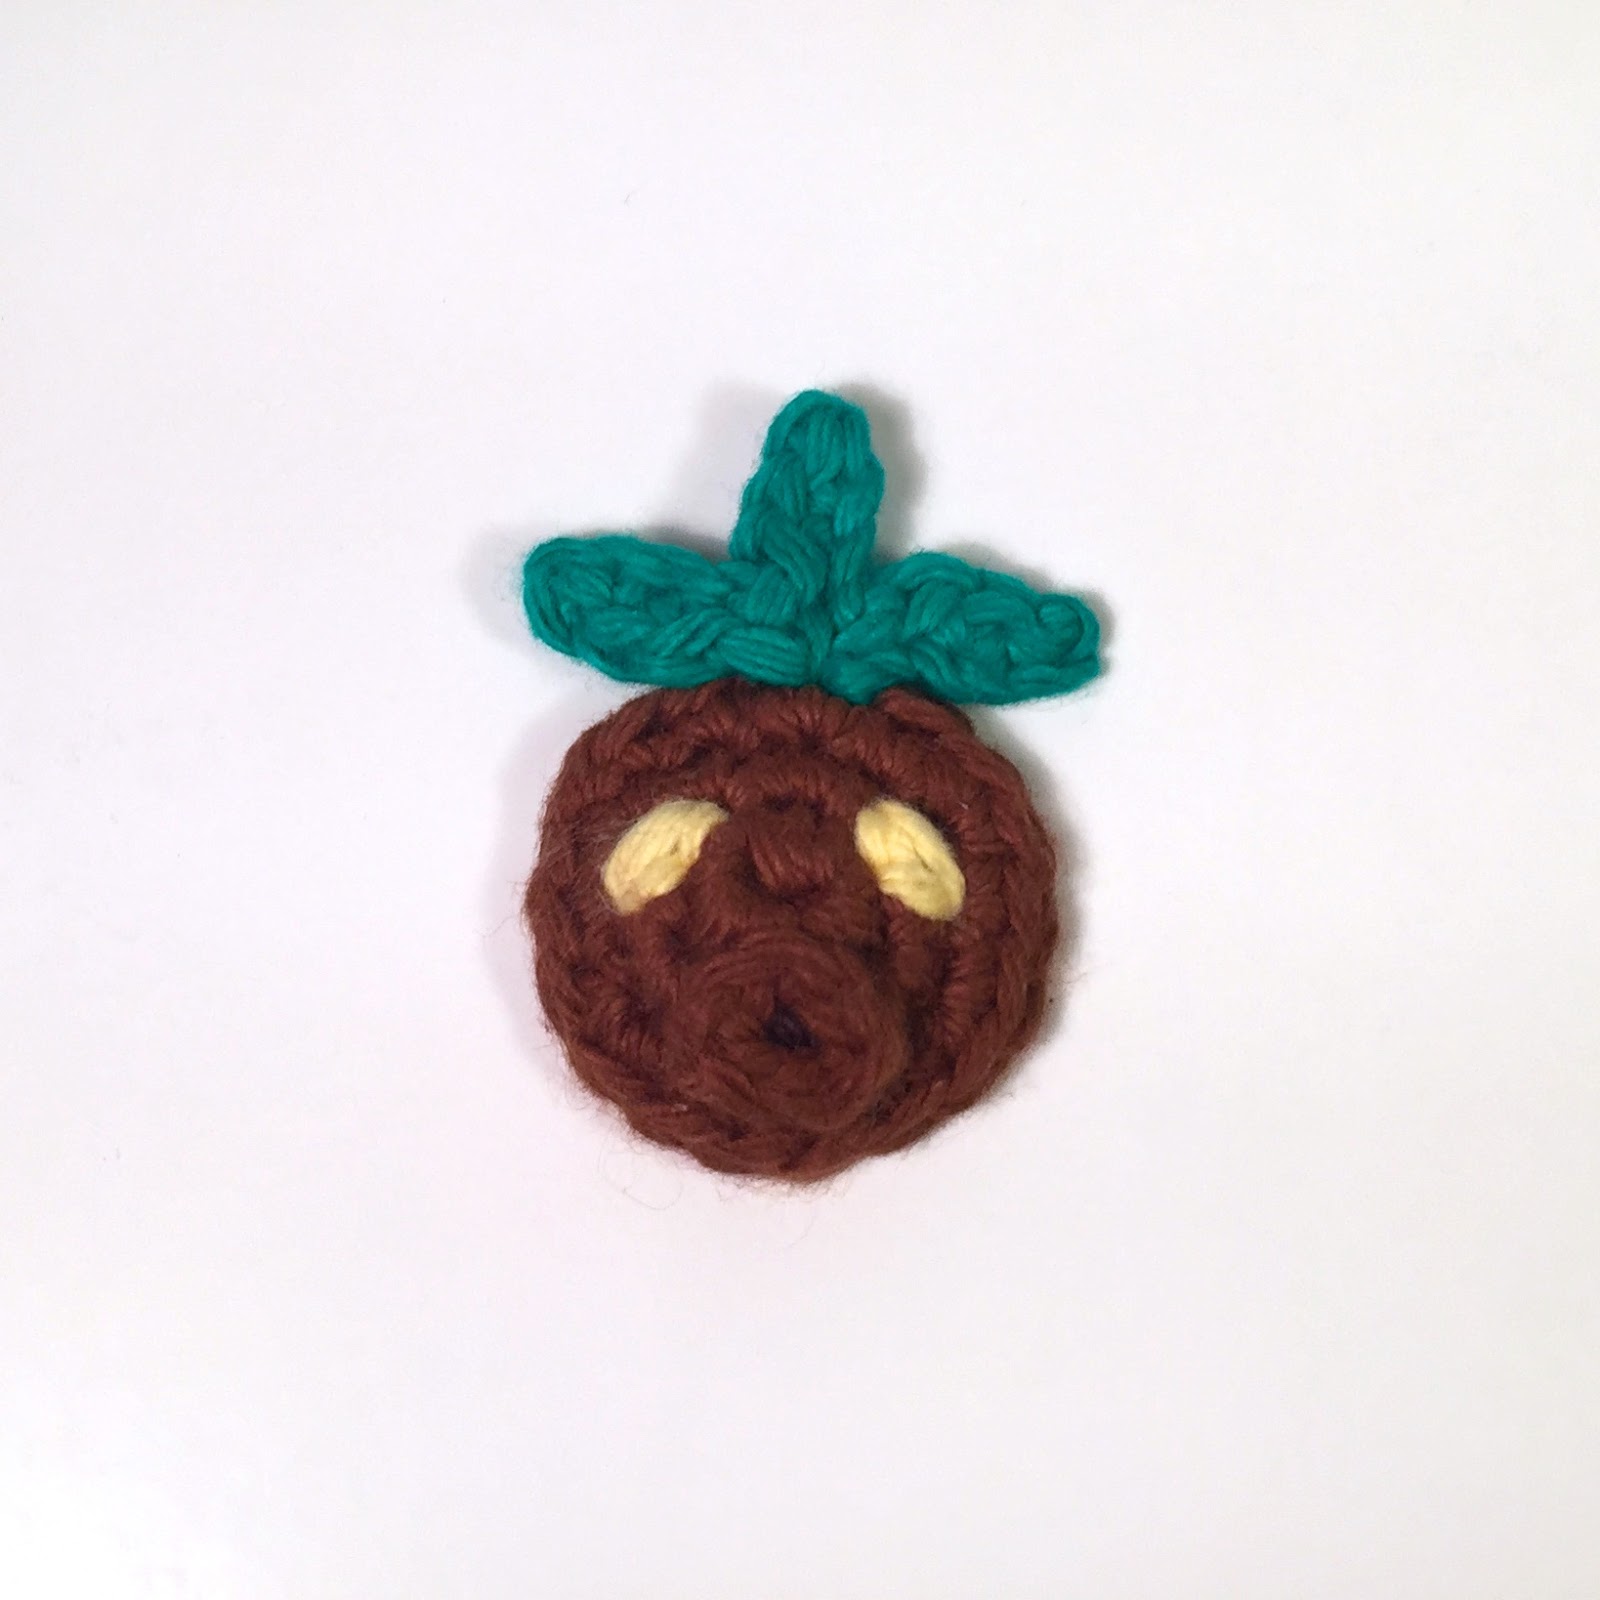
How to crochet: Plant’s vs. Zombies Mushroom by Aradiya Toys!
Hey Guys! Today I’ve got a totally special guest post for you!! Have you ever heard of AradiyaToys? She makes seriously amazing amigurumi and sells the patterns for them on her Etsy here! Well today she decided to share one of her patterns with us! So here’s a free pattern for a Sun-shroom from the game Plant’s vs. Zombies! Make sure to check out her shop to get some more amazing patterns for her too!!! Without further ado, take it away Aradiya!

Instruments and materials
– 1.00 mm hook
– Yellow, milky white, brown and black yarn
– Sewing needle
– Stuffing material
Sun-shroom is character of the popular game “Plants vs Zombies”, that was developed and released by PopCap Games.
This toy are crocheted with “Iris” yarn. They are 100% cotton, 150m/25g. To create toy with a height of 4.5 cm, you must crochet with single yarn using a 1.00 mm hook. The stuffing material used in this toy is polyester wadding.
How to crochet: A Yoshi / Easter Egg

Easter’s coming up, and the new Yoshi game, Yoshi’s Wooly World is coming out soon too, so I thought it would be fun to make this weeks pattern a mini Yoshi’s Egg!
But seeing as easter is here too, I decided to show you guys a few techniques I use to make them easter eggs too!
Oh, and if you’re not really a crocheter, these are also now available in the Etsy store here for only $5 too!
Without further ado, here’s the pattern for a miniature Yoshi / Easter Egg!
Hoppy easter!
How to crochet: a Pie

It’s March 14th (1/14) aka pie day, or π day!
To celebrate here’s a free video pattern for a miniature pie!
Materials
-Lion Brand’s Vanna’s Choice (Maroon, Beige, and Grey)
-Size US-G/4.00 mm Crochet Hook
-Needle to sew in ends
-Stuffing
Abbreviations
-Sc : Single Crochet
-Sl.st : Slip Stitch
-Hps : Half puff stitch (yo, insert hook yo and pull through, yo, insert hook yo and pull through, yo and pull through all 5 loops on the hook)
-Dec/Inc : Decrease/Increase
-St : Stitch or stitches
Gauge : 5 Rnds and 4 stitches per 1”
Finished piece is about 4” tall
Worked in the round
Pattern:
Ch 2
(1:20) Rnd 1: sc 6 in 2nd ch from the hook (6)
(2:30) Rnd 2: sc and hps (half puff stitch), repeat 6 times (12)
(5:15) Rnd 3: sc in first, hps and sc in next, repeat 6 times (18)
(9:30) Rnd 4: using beige, working in bottom loops only, sl.st in first, sc and sl.st in next, repeat 9 times (27)
Cut and sew in the beige
(10:45) Rnd 5: using grey, working in top loops only, sc in each st around (18)
(13:20) Rnd 6: sc in each st around (18)
(14:15) For criss cross pie, create four pieces of ch 8, and four of ch 4, sew them on to the top of the pie here. Make sure to weave the second half of chs around the first half.
(17:15) Rnd 7: working in top loops only, sc in first, dec in next, repeat 6 times (12)
(18:45) Rnd 8: dec in each (6)
Cut, stuff and sew together
-Lion Brand’s Vanna’s Choice (Maroon, Beige, and Grey)
-Size US-G/4.00 mm Crochet Hook
-Needle to sew in ends
-Stuffing
Abbreviations
-Sc : Single Crochet
-Sl.st : Slip Stitch
-Hps : Half puff stitch (yo, insert hook yo and pull through, yo, insert hook yo and pull through, yo and pull through all 5 loops on the hook)-Dec/Inc : Decrease/Increase
-St : Stitch or stitches
Gauge : 5 Rnds and 4 stitches per 1”
Finished piece is about 4” tall
Worked in the round
Pattern:
Ch 2
(1:20) Rnd 1: sc 6 in 2nd ch from the hook (6)
(2:30) Rnd 2: sc and hps (half puff stitch), repeat 6 times (12)
(5:15) Rnd 3: sc in first, hps and sc in next, repeat 6 times (18)
(9:30) Rnd 4: using beige, working in bottom loops only, sl.st in first, sc and sl.st in next, repeat 9 times (27)
Cut and sew in the beige
(10:45) Rnd 5: using grey, working in top loops only, sc in each st around (18)
(13:20) Rnd 6: sc in each st around (18)
(14:15) For criss cross pie, create four pieces of ch 8, and four of ch 4, sew them on to the top of the pie here. Make sure to weave the second half of chs around the first half.
(17:15) Rnd 7: working in top loops only, sc in first, dec in next, repeat 6 times (12)
(18:45) Rnd 8: dec in each (6)
Cut, stuff and sew together
Subscribe on YouTube or follow me on Twitter, Instagram, or Facebook to get notified of new videos every week!
How to crochet: A Snitch or Fairy

Kay, last Zelda pattern for a bit…. I think….
If you’ve been missing, I’ve been on a bit of a kick as far as Zelda patterns go, to celebrate the new game coming out! Check out the patterns for a Big Deku Mask and Mini Deku Mask posted the past few weeks!!
Now today’s pattern is for a miniature Navi fairy from Zelda or a snitch from Harry Potter!!
 Materials
-Lily Sugar ‘n Cream (Blue, Yellow, and White)
-Size US-G/4.00 mm Crochet Hook
-Needle to sew in ends
-Stuffing
Abbreviations
-Sc : Single Crochet
-Sl.st : Slip Stitch
-Dec/Inc : Decrease/Increase
-Hdc : Half-Double Crochet
-St : Stitch or stitches
Worked in the round
Pattern:
Big wings
Ch 7
(1:45) Rnd 1: starting in 2nd ch from the hook, sl.st, sc, hdc, hdc, sc, sc (6)
Cut and pull through leaving long enough end to sew onto body.
Small wings
Ch 3
(2:55) Rnd 1: starting in 2nd ch from the hook, sl.st, hdc (2)
Cut and pull through leaving long enough end to sew onto body, just under/behind the big wings.
Body
Ch 2
(4:00) Rnd 1: sc 6 in 2nd ch from the hook (6)
(4:50) Rnd 2: inc (sc 2) in each st (12)
(6:00) Rnd 3: sc in first 3 sts, inc in next, repeat 3 times (15)
(7:00) Rnd 4 – 6: sc in each st around (15)
(7:45) Rnd 7: sc in first 3 sts, dec in next, repeat 3 times (12)
Sew on wings here
(13:30) Rnd 8: dec in each st (6)
Cut, stuff and sew together
Check out another Zelda pattern, like the one for a mini Deku Mask here!
Subscribe on YouTube or follow me on Twitter, Instagram, or Facebook to get notified of new videos every week!
How to crochet: a Big Deku Mask

Majora’s Mask just came out on the 3DS last week so to celebrate I made a big deku mask that’s from the game!!
Last week I made a mini version of this same mask which you can check out right here: http://new.louiesloops.com/2015/02/how-to-crochet-a-mini-deku-mask/
Make your own with the free video pattern below!
Materials
-Lily Sugar ‘n Cream (Brown, Black, Green, and Yellow)
-Size US-G/4.00 mm Crochet Hook
-Needle to sew in ends
-Stuffing
Abbreviations
-Sc : Single Crochet
-Sl.st : Slip Stitch
-Dec/Inc : Decrease/Increase
-Hdc : Half-Double Crochet
-St : Stitch or stitches
Worked in the round
Pattern:
-Lily Sugar ‘n Cream (Brown, Black, Green, and Yellow)
-Size US-G/4.00 mm Crochet Hook
-Needle to sew in ends
-Stuffing
Abbreviations
-Sc : Single Crochet
-Sl.st : Slip Stitch
-Dec/Inc : Decrease/Increase
-Hdc : Half-Double Crochet
-St : Stitch or stitches
Worked in the round
Pattern:
Body
Ch 2
Rnd 1: sc 6 in 2nd ch from hook, don’t turn. (6)
Rnd 2: sc 2 (inc) in each. (12)
Rnd 3: sc in first, inc in next, repeat 6 times. (18)
Rnd 4: sc in first 2, inc in next, repeat 6 times. (24)
Rnd 5: sc in first 3, inc in next, repeat 6 times. (30)
Rnd 6: sc in first 4, inc in next, repeat 6 times. (36)
Rnd 7: sc in first 5, inc in next, repeat 6 times. Sl.st in next. (42, and 1 sl.st)
Cut and pull through, sew in end.
(2:40) Mouth
Rnd 1: Pull loop through the very middle of the body, sl.st 16 in a circle. Pull a sizable amount of yarn through the center and cut off.
Rnd 2: sl.st in first, turn, sc 1 in each of the sl.st’s made, don’t turn. (16)
Rnd 3 and 4: sc in each st around (16)
Sl.st in next, cut and sew in the end.
Inside of mouth
Ch 2
Rnd 1: sc 6 in 2nd ch from hook, don’t turn. (6)
Rnd 2: sc 2 (inc) in each. (12)
Sl.st in next, cut and sew in the end.
(13:30) Eyes (Make 2)
In yellow, Ch 2
Rnd 1: sc 3 in 2nd ch from hook, turn. (3)
Rnd 2: ch 1, sc 2 in each. (6)
Cut and pull trough leaving a long enough end to sew onto the body of the mask
(16:00) Leaves (Make 3)
In green Ch 9
Rnd 1: sl.st in 2nd ch from hook, sc in next two, hdc in next 4, sc 3 in last, turn upside down. (10)
Rnd 2: on backside, hdc in next four,
sc in next two, sl.st in last. (7)
Cut and pull through leaving enough to sew onto the top of the body
Check out last weeks pattern for the mini Deku Mask here!
Subscribe on YouTube or follow me on Twitter, Instagram, or Facebook to get notified of new videos every week!
How to crochet: a Mini Deku Mask
 New Legend of Zelda game coming out on the 3DS?! WAIT ITS EVEN BETTER!!! Majora’s Mask!! WOOOO!!
So this Thursday the new Majora’s Mask 3DS game comes out and I’m super excited, so to show my appreciation, I decided to make a little Deku Mask from the game! It’s super tiny so you can sew it onto a bag or put it on a pin!
Alright, well check out the free video pattern below!
 Materials
-Lily Sugar ‘n Cream (Brown, Black, Green, and Yellow)
-Size US-G/4.00 mm Crochet Hook
-Needle to sew in ends
-Stuffing
Abbreviations
-Sc : Single Crochet
-Sl.st : Slip Stitch
-Dec/Inc : Decrease/Increase
-St : Stitch or stitches
Worked in the round
Pattern:
Main (Video Part 1)
Ch 2
(1:30) Rnd 1: sc 6 into the 2nd ch from the hook (6) Don’t Turn
(2:20) Rnd 2: sc 2 (inc) in each st around (12) [4 brown, 2 black, 6 brown]
(4:40) Rnd 3: sc in next st, inc in next st, repeat 6 times (18)
Sl.st in the next, cut and pull through
Mouth
(7:50) Ch 6, stitch around black made in in the main part.
Leaves (Video Part 2)
Ch 5 (0:45)
(1:15) Rnd 1: sl.st into the 2nd ch from the hook, sc in next 2 chs, sl.st in last (4)
(1:50) Rnd 2: ch 4, sl.st into the 2nd ch from the hook, sc in next 2 chs, sl.st in first ch made. (4)
(2:40) Rnd 3: ch 4, sl.st into the 2nd ch from the hook, sc in next 2 chs, sl.st in first ch made. (4)
Cut and pull through
Sew on leaves, embroider on eyes in yellow.

Subscribe on YouTube or follow me on Twitter, Instagram, or Facebook to get notified next week when I make a big Deku Mask!