


— Links —
Millennium Falcon Pattern: http://louiesloops.com/2017/05/how-to-crochet-the-millennium-falcon.html
Stars Pattern: Live tomorrow!
Rocket Pattern: Live 5/30, but you can get early access at http://www.clubcrochet.com!
Yoda Pattern: https://www.etsy.com/listing/259942141/pdf-pattern-for-crocheted-yoda-from-star
Princess Leia Pattern: https://www.etsy.com/listing/504537631/pdf-pattern-for-crocheted-princess-leia
Yoda Kits: https://www.etsy.com/listing/518414694/kit-to-crochet-a-mini-yoda-amigurumi
Get early access, extra patterns, and even kits at http://www.clubcrochet.com!
louiesloops@gmail.com

Materials needed: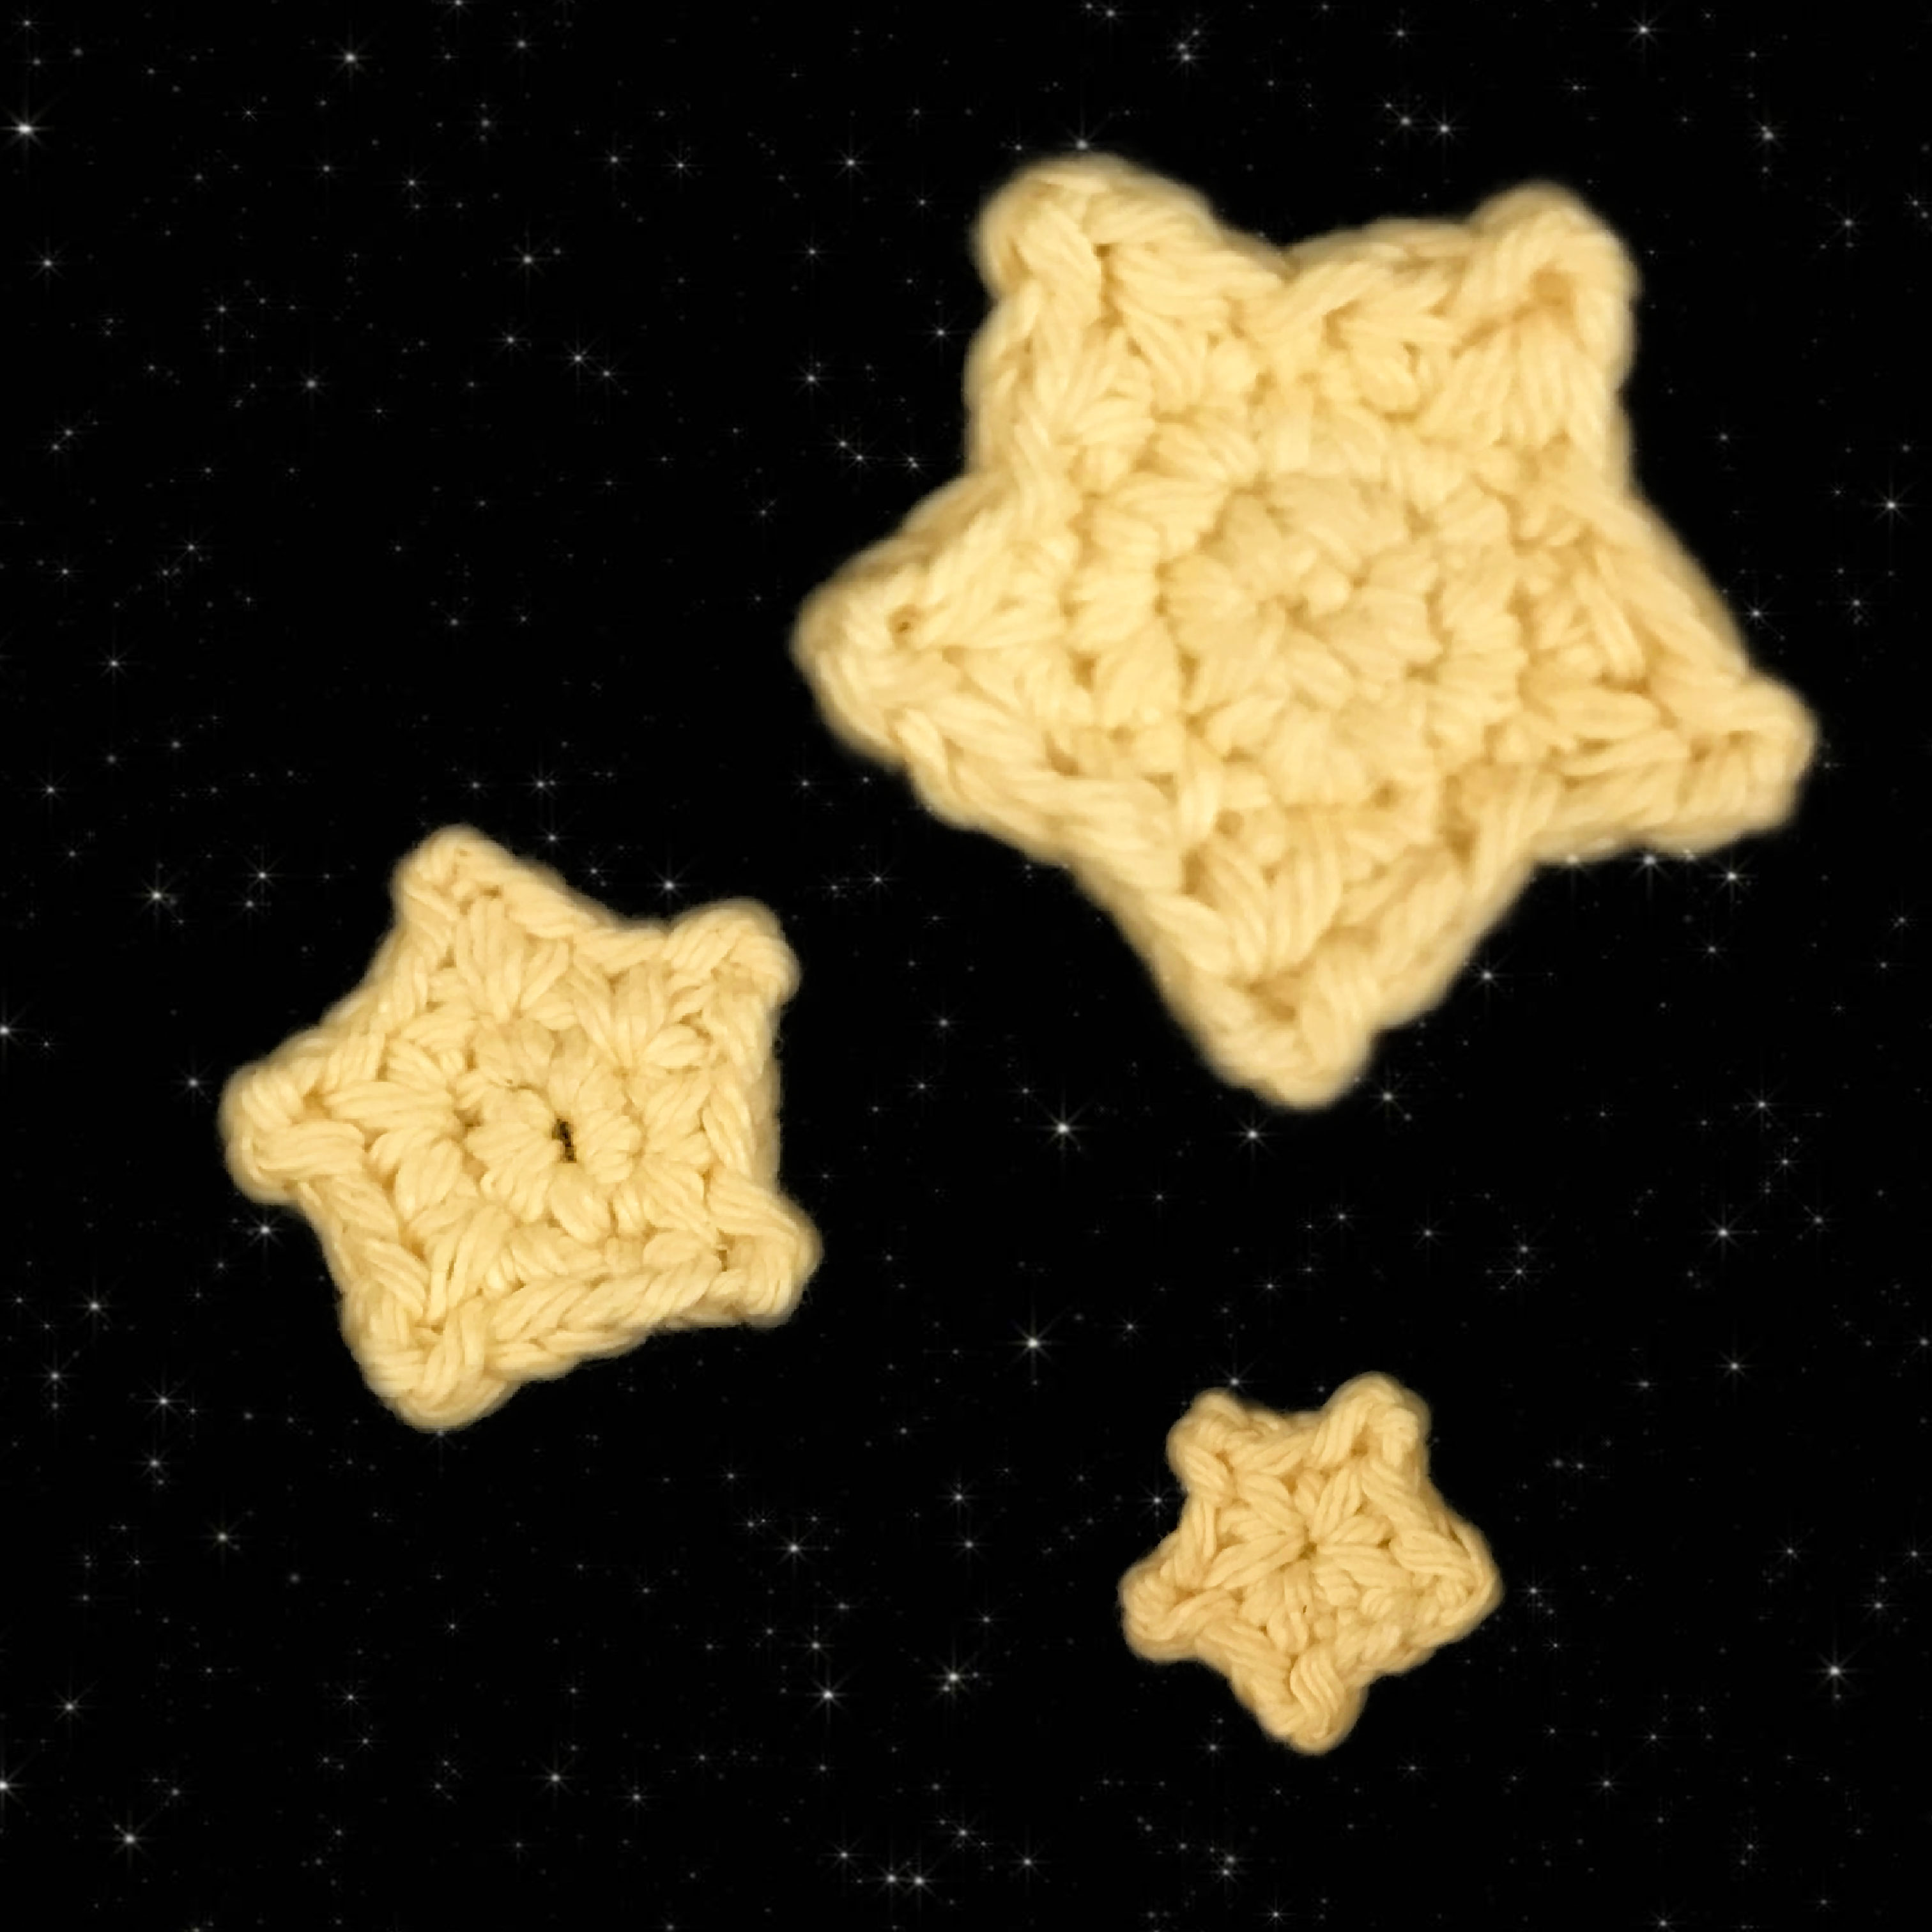
-Yellow Yarn
-Size US-G/4.00 mm Crochet Hook
-Needle to sew in ends
Stitches used:
-Ch : Chain
-Sc : Single Crochet
-Dec/Inc : Decrease/Increase
-Hdc : Half-double crochet
-M.p : Mini Picot (2:00)
-St : Stitch or stitches
Brought to you by Club Crochet! A subscription service perfect for crocheters! http://www.ClubCrochet.com
(1:22) Small Stars
Ch 2 or use magic hoop method
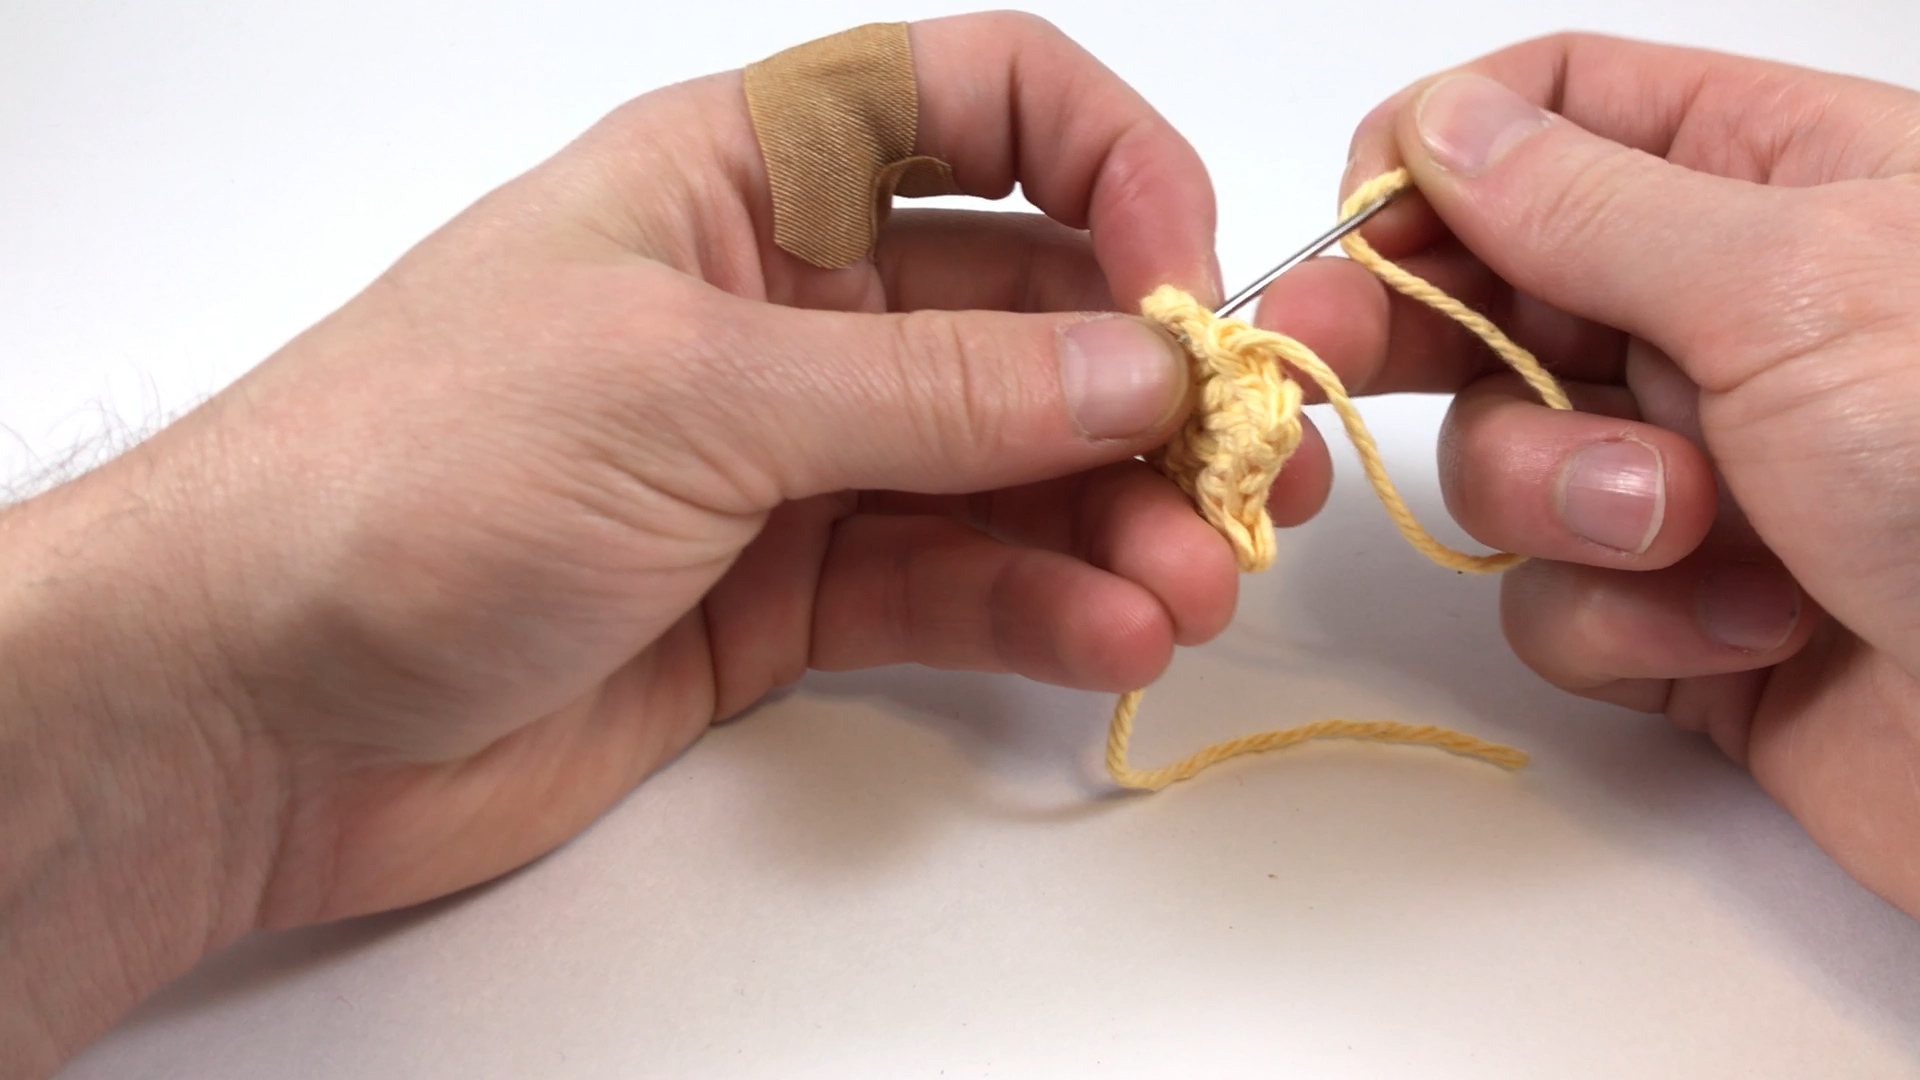
Rnd 1: Working into the 2nd ch from hook, [sc, m.p] x5
Ss into first sc made, cut and pull through. Hide the end into the star using an invisible end [See 4:10 in video]

Making the Mini Picots
(5:42) Medium Star
Ch 2 or use magic hoop method
Rnd 1: Work 5 sc in 2nd ch from hook or into magic hoop (5)Rnd 2: [sc, m.p, sc] in each st around (10)
Ss into first sc made, cut and pull through. Hide the end into the star using an invisible end.
Making the invisible end (Part 1)

Making the invisible end (Part 2)
(10:09) Large Star
Ch 2 or use magic hoop method
Rnd 1: Work 5 sc in 2nd ch from hook or into magic hoop (5)
Rnd 2: inc x 5 (10)
Rnd 3: sc in first, then repeat this: {[hdc, m.p, hdc], ss in next} x 5 (15)
Cut and pull through. Hide the end into the star using an invisible end .
Finally finish up by igniting the highly pressurized gas center through nuclear fusion to get it shinning bright!
louiesloops.com

Materials needed:
-Worsted Weight yarn (Two types Greys)
-Size US-G/4.00 mm Crochet Hook
-Needle to sew in ends
-Small amount of stuffing
Stitches used:
-Ch : Chain
-Sc : Single Crochet
-Dec/Inc : Decrease/Increase
-St : Stitch or stitches
Brought to you by Club Crochet! A subscription service perfect for crocheters! http://www.ClubCrochet.com
– Bottom [All Beige] –
Ch 2 or use magic hoop method
(2:38) Rnd 1: Work 6 sc in 2nd ch from hook or into magic hoop (6)
(3:14) Rnd 2: inc (sc 2) in each st around (12)
(4:12) Rnd 3: [sc, inc] x 6 (18)
(5:14) Rnd 4: [ch 4, skip first 2 chs, sc, hdc, working into last st and next st, dec]
Ss, [ch 4, skip first 2 chs, sc, hdc, Working into last st and next st, dec] ss in last, cut and pull through leaving a long(ish) end
– Top –
Ch 2 or use magic hoop method
(9:30) Rnd 1: Work 6 sc in 2nd ch from hook or into magic hoop (6)
(9:50) Rnd 2: Working in BLO, inc (sc 2) in each st around (12)
[4 Beige, 1 Beige/Grey, 1 Beige, 1 Beige/Grey, 1 Beige, 1 Beige/Grey, 3 Beige]
(13:03) Rnd 3: [sc, inc] x 5, m.p (ch 2, ss in 2nd ch from the hook), sc, inc (18 + m.p)
[7 Beige, 1 Beige/Grey, 1 Beige, 1 Beige/Grey, 1 Beige, 1 Beige/Grey, 6 Beige]
(16:52) Rnd 4: [ch 4, skip first 2 chs, sc, hdc, working into last st and next st, dec]
Ss, [ch 4, skip first 2 chs, sc, hdc, Working into last st and next st, dec] ss in last, cut and pull through leaving a long(ish) end
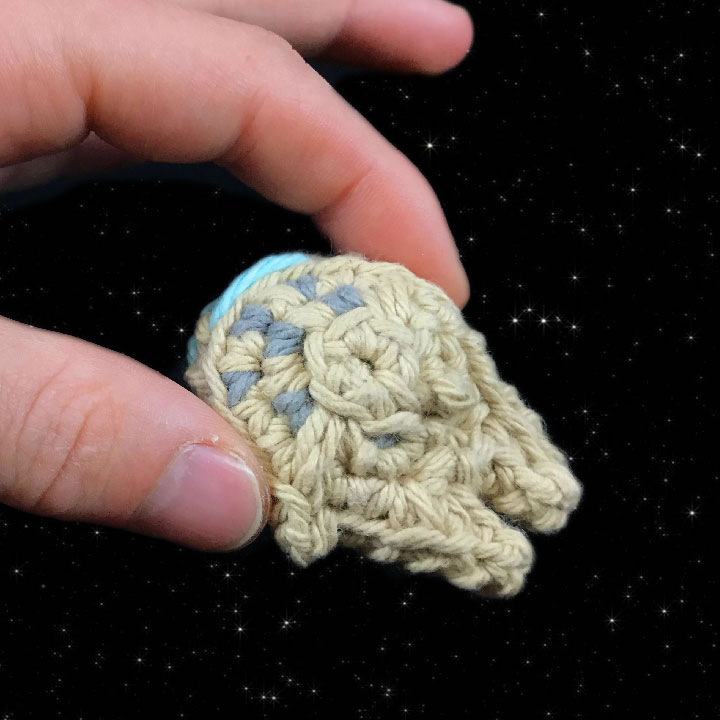
(19:59) Add detail using the long beginning tail. Just some horizontal lines.
Add a bullion knots for the satellite dish.
 (24:20) Sew the halves together using the long end of the top half, work only into the back loops. Make sure to stuff very slightly before finishing sewing together.
(32:37) Add the back lights in light blue.
Finally, just defeat the Empire to finish it up!

Every week I crochet a new original character based on a sketch! This week’s monster is the first Special Guest monster made by Mary Doodles!!
Watch live starting at 5pm PST right here!!
Watch live video from LouiesLoops on www.twitch.tv
Welcome to Monster Mondays, where I crochet a completely original creation! Join the chat where you get to talk with me, choose a name and vote on next weeks monster!
This video is brought to you by viewers like you on Patreon! See ways you can support while getting loads of extra content here: http://www.Patreon.com/louiesloops
New live stream every Monday and Thursday! Subscribe and push notifications to get notified when I go live!
Help out on Patreon: http://www.patreon.com/louiesloops
louies.loops@gmail.com
– Featured Pattern: Captain America –


Every week I crochet a new original character based on a sketch! Here’s this weeks!
Bummer you missed it, but I’m live every Monday and Thursday at 5pm now! So I’ll see you then!

Today I’m making a fan’s drawing! Thanks to @nuniabussiness2 for sending me a drawing! You can send me drawings on Twitter, Facebook and Instagram @louiesloops, make sure to add #crochetitlouie so I find it!!
Welcome to Monster Mondays, where I crochet a completely original creation! Join the chat where you get to talk with me, choose a name and vote on next weeks monster!
This video is brought to you by viewers like you on Patreon. See ways you can support while getting loads of extra content here: http://www.Patreon.com/louiesloops
New live stream every Monday and Thursday! Subscribe and push notifications to get notified when I go live!
Help out on Patreon: http://www.patreon.com/louiesloops
louies.loops@gmail.com
Featured Pattern: Bob the Insominable Snowman


[metaslider id=779]
Pattern can be downloaded immediately after purchase
Have your own crocheted Mario sitting safe and sound on your dresser or hanging on your back pack! This little Mario from Super Mario Bros miniature amigurumi measures about 2 inches tall when finished and includes 5 unique video tutorials to help you get through the tough parts!
*Includes video tutorials for the more difficult parts of the pattern!*
*Teaches you how to make Luigi too!*
– Worsted Weight yarn
– Size US-G/4.00mm
– Needle to sew in ends
– Scissors
– A small amount of stuffing
– Pipe cleaner
– Sl.st (slip stitch)
– Sc (Single crochet)
– Dec (Decrease)
– Bo (Bobble stitch)