Category Archives: Blog

Rotary Street Fair 2012!
Warning: Trying to access array offset on value of type null in /home1/louieslo/public_html/wp-content/themes/loops/content.php on line 35

What are you guys doing Sunday? Do you live near Thousand Oaks, California and not doing much, or even if you are doing something, just ditch it and come hang out with me at the Rotary Street Fair!!

Here I am at the booth last year!

You can get more information about it here: http://www.conejovalleyguide.com/local-events/2012-thousand-oaks-rotary-street-fair-on-sunday-october-21st.html

Seriously guys! Come by and check out my booth! I’ll be selling a bunch of hats and other crocheted fun stuff!! I’d love it if you come out and say hi!

See you guys Sunday!

New Halloween Patterns (With COUPON!) + iPhone Cases!
Warning: Trying to access array offset on value of type null in /home1/louieslo/public_html/wp-content/themes/loops/content.php on line 35

For Halloween, I made and posted a couple patterns for some Halloween themed hats that I made last year in the Etsy and Ravelry stores!

Check out the Bat and Frankenstein’s Monster Earflap Hat Patterns today!

And if you hurry to buy these before Halloween, and use the code “MONSTER” on any of the patterns for sale in my Etsy store, you’ll 15% off!!

Wait… you thought that was all? Ha! Check out the brand new crocheted iPhone cases in the Etsy store today!! Here’s some photo’s and the spiel on the listing:

Keep your iPhone safe and customized with a hand crocheted iPhone case! Handmade in a silky soft, yet strong and durable cotton / acrylic blend, these iPhone cases come in either iPhone 4 or 5 sizes. They’re made with openings for charging, headphones, and switching on and off vibrate so you never have to take it off! Speaking of which, the cases slip on easily and stay very secure while still keeping both the front and back cameras, mics, and flash open for the perfect photos!

Best part is, you choose the color! These cases come in a rainbow of colors, here’s a list:
White, Light Gray, Dark Gray, Black, Ocean Blue, Tadis Blue, Yellow, Lime Green, Hazelnut, Red, Pink, Azalea, Purple, Sand
Not in photos above, but still available in: Light Blue, Navy Blue, Green, Fern Green, and Brown 

I’m a Supahstar!
Warning: Trying to access array offset on value of type null in /home1/louieslo/public_html/wp-content/themes/loops/content.php on line 35

I always imagined I’d be recognized as a star in my life, I just never thought it would be so soon!


Haha but seriously, I’m extremely flattered to say, I was chosen to be the 99th “Crafty Superstar” on the site Cut Out + Keep. This week they’ll be featuring me and 1 of my patterns everyday for the whole week!

So even if you’ve seen most or all of these patterns, check the site out! It’s really cool and even cooler now that I’m one of their superstars!! Haha. (If you can’t tell I’m pretty excited)

How to crochet an Oval
Warning: Trying to access array offset on value of type null in /home1/louieslo/public_html/wp-content/themes/loops/content.php on line 35

This pattern is looong over due, but thanks to Kelly, a follower who commented earlier this week, I got my butt in line and decided to finally put it up.

It’s really not that detailed, but I couldn’t find many good patterns for a legitimate oval when I was making my Batman hat, so I made one up. Other than the Batman hat, I used these ovals to make a couple really quick and simple coasters inspired by probably my favorite video game Portal.

So here’s a pattern for a simple oval and instructions on how to make it for a Batman logo and for some Portal coasters:

Crocheted Oval Pattern
Materials:
(basically any 100% cotton works)
Needle to sew in ends with
Abbreviations:
-st = Stitch
-sc = Single Crochet
-Ch = Chain

-Rnd = Round

Ch 2
Rnd 1: sc 6 in 2nd ch from hook, don’t turn. (6)
Rnd 2: sc 3 in first st, 2 in next, 1 in next, repeat once. (12)
Rnd 3: sc 1 in first st, 2 in next three, 1 in next 3, 2 in next three, 1 in last two sts. (18)
Rnd 4: sc 1 in first two sts, 2 in next (inc), 1, 2, 1, 2, 1 in next four, 2 in next, 1, 2, 1, 2, 1 in last two sts. (24)
Rnd 5: sc 1 in first three sts, 2 in next, 1, 2, 1, 2, 1 in next seven, 2 in next, 1, 2, 1, 2, 1 in last four sts. (30)
Depending on how large you made the bat, you may need to keep going or stop sooner, here’s a few more Rnds
Rnd 6: sc 1 in first four sts, 2 in next, 1, 2, 1, 2, 1 in next ten, 2 in next, 1, 2, 1, 2, 1 in last six. (36)
Rnd 7: sc 1 in first five sts, 2 in next, 1, 2, 1, 2, 1 in next thirteen, 2 in next, 1, 2, 1, 2, 1 in last eight. (42)

*When the oval is big enough to fit the bat onto, sl.st in the next st, cut, pull through and sew into the project to hide it, or leave a long end to sew onto the hat.*
For Portal coasters change to either blue or orange here:
Rnd 8: sc 1 in first six sts, 2 in next, 1, 2, 1, 2, 1 in next sixteen, 2 in next, 1, 2, 1, 2, 1 in last ten.

If you haven’t figured it out, here is the pattern for making it larger and larger, although at some point I don’t think this will work: increase the scs in the begining by one each Rnd, then continue the pattern, 2, 1, 2, 1, 2 in the next five sts, then sc 1 in 3 more sts then the last Rnd (ex: ten for Rnd 6, thirteen for Rnd 7). Do the 2, 1, 2, 1, 2 pattern again in the next five, then finally sc 1 in 2 more sts then the last Rnd (ex: 2 in Rnd 4 and 4 in Rnd 5)

Lion Patterns!
Warning: Trying to access array offset on value of type null in /home1/louieslo/public_html/wp-content/themes/loops/content.php on line 35

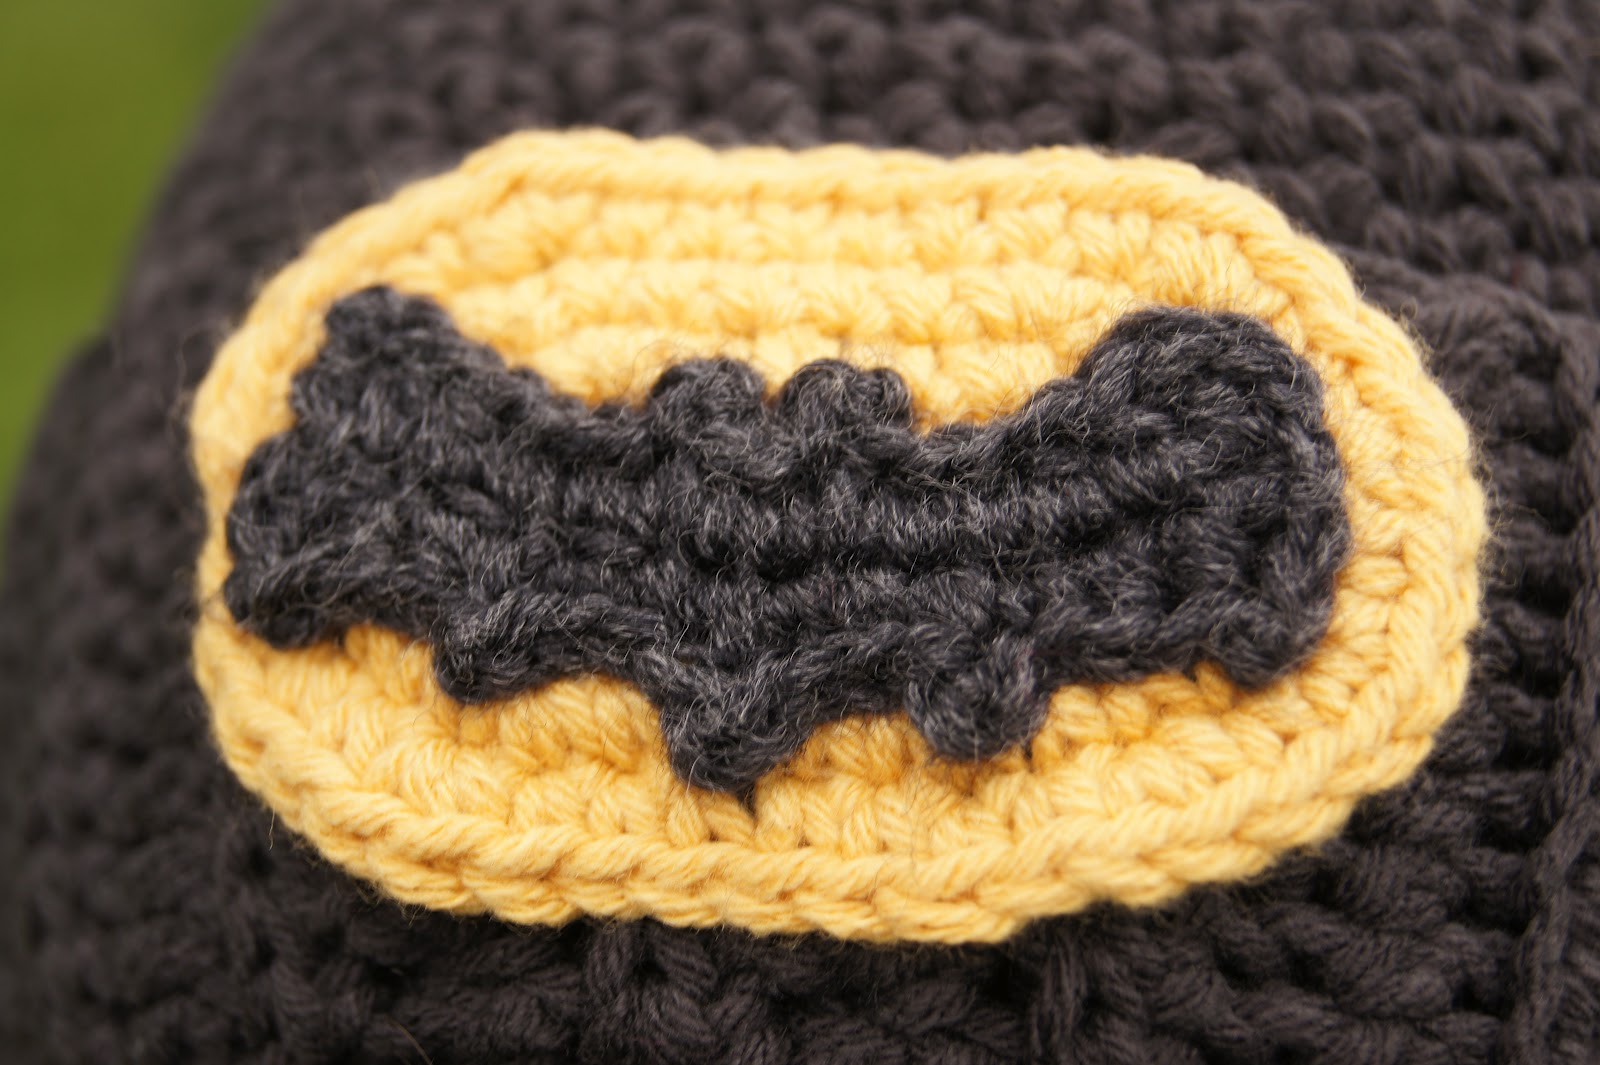
As I promised yesterday, check out the ferocious new pattern by Lucy (Blog / Etsy), here it is, Boris the Lion!

Boris The Tiny Lion
Amigurumi Pattern


Abbreviations:
ch = chain
st = stitch or stitches
sc = single crochet (US), double crochet (UK)
dc = double crochet (US), treble crochet (UK)
hdc = half double crochet (US), half treble crochet (UK)
BLO = back loop only
FLO = front loop only
tog = together
sc2tog = decrease by working two sc together
FO = fasten off

General instructions:
Work in rounds unless otherwise stated and do not join rounds unless told to. Use a stitch marker to mark the start of a round – a small piece of different coloured yarn placed under the stitch at the start of the round will do. To start a round, you can use the magic ring method, but I prefer (ch2, work 6 sc into 1st ch). If you work the 6 sc over the tail of yarn as well you can use that to pull the hole tight.

Work through both loops of stitches unless otherwise indicated.

You will need:
Small amount of yellow/gold yarn.
Small amount of brown yarn.
Small amount of black yarn.
Small amount of stuffing.
3.5mm (E) hook.

Special stitch instructions:
5 dc pop: popcorn stitch for legs. Work 5 dc into 1 st, take hook out leaving loop, put hook through 1st dc & pull loop through.

3 dc bob: bobble stitch for mane. YOH, insert hook into next stitch, YOH and pull through stitch, YOH, pull through 2 loops, *YOH, insert hook into same stitch, YOH and pull through stitch, YOH, pull through 2 loops, repeat from*, YOH, pull through all 4 loops on hook.


Body:
Start using yellow/gold yarn.
Round 1: Ch 2, work 6 sc into 1st ch – 6 st.
Round 2: [2 sc in next st, sc in next st] 3 times – 9 st.
Round 3: Sc in each st around – 9 st.
Round 4: [2 sc in next st, sc in next 2 st] 3 times – 12 st.
Round 5: [2 sc in next st, sc in next st] 6 times – 18 st.
Round 6: Sc in each st around – 18 st.
Change to brown yarn.
Round 7: [Sc in next st, 3 dc bob in next st] 9 times – 18 st.
(Push the bobbles outwards after each round.)
Round 8: Sc in next st, [sc in next st, 3 dc bob in next st] 8 times, sc in next st – 18 st. (Optional: to make ears do the 2nd and 5th bobbles in the yellow/gold yarn).
Round 9: [Sc in next st, 3 dc bob in next st] 9 times – 18 st.
Change to yellow/gold yarn.
Round 10: [2 sc in next st] 2 times, sc in next 12 st, [2 sc in next st] 4 times – 24 st.
Round 11: 5 dc pop in next st, sc in next 19 st, 5 dc pop in next st, sc in next 3 st – 24 st.
Round 12: Sc2tog, sc in next 18 st, [sc2tog] 2 times – 21 st.
Round 13 – 15: (3 rounds) Sc in each st around – 21 st.

Stuff as far as you can and embroider face with black yarn. Use French knots to make eyes.

Round 16: Sc in next st, 5 dc pop in next st, sc in next 16 st, 5 dc pop in next st, sc in next 2 st – 21 st.
Round 17: Sc in each st around – 21 st.
Round 18: [Sc2tog, sc in next 5 st] 3 times – 18 st.
Round 19: [Sc2tog, sc in next st] 6 times – 12 st.
Round 20: [Sc2tog] 6 times – 6 st.
FO, leaving length of yarn. Finish stuffing and sew up hole at end.

Tail:
Ch 5, turn, miss ch next to hook, ss in next 4 ch.
FO and sew to bottom. Sew or knot a little bit of brown yarn to the end to make a tuft.

Don’t forget to check out my free pattern of Leroy the Lion pin on her blog here!

Two new patterns tomorrow!
Warning: Trying to access array offset on value of type null in /home1/louieslo/public_html/wp-content/themes/loops/content.php on line 35

The Olympics were a while back, and I never did come out with a pattern for them. That was mostly due to the despute between Ravelry and USOC. If you havn’t heard about all that jazz, check it out here, it’s very interesting.

Aaany how, while I didn’t come out with a pattern for the Olympics, a friend and amazing crochet and pattern artist, Lucy, who lives in England, and I decided we would do a little pattern swap for the occasion. If you havn’t seen any of her work check out her blog and Etsy, it’s honestly incredible. She’s made some of the most awesome Star Wars themed amigurumi among the tons of other amigurumi patterns she has available.

London comissioned artist from around England to create works of art specifically for the Olympics, one of which were these absolutely amazing giant crocheted lions by Shauna Richardson. She is another incredible crochet artist, check out more about her work here. To comemorate this amazing feat in crocheting and somewhat the Olympics, Lucy and I decided to do a pattern swap focused on Lions.

She created a simply adorable amigurumi lion named Boris. Her, her kids, and Boris went to go visit the lions in London a few weeks back and talks about the incredible size of the crocheted beasts. Check out her blog entry here talking more about her trip. Tomorrow we’ll be doing the swap so check out her creation, Boris, here and my creation, Leroy the lion pin, on her site!

Fun With Stitches: Split Single Crochet Stitch
Warning: Trying to access array offset on value of type null in /home1/louieslo/public_html/wp-content/themes/loops/content.php on line 35

Hey guys! Sorry for the hiatus! I just moved to San Francisco for school, and it’s been a bit busy for me. So this is my first time away from home and there are a few things that I never thought about getting haha. One of which is a hot pad for pots and pans, but you know I’m not going to go buy them!

So I knew I wanted to make a hot pad, but didn’t know what stitch or pattern to use. I follow a site called New Stitch a Day, it’s this really awesome site where they post new “how to’s” for crochet and knitting each day! Every day Johnny posts a stitch with a beautifully made video that boggles my mind and makes me want to use it in my projects, so I did!

I used a stitch called the Split Single Crochet Stitch, here is a video from New Stitch a Day on how to do it:

Here’s what the stitch looks like close up.

———————————————————————————————————————-
Materials:
Lion Brand Cotton/Lily Sugar’n Cream

(basically any 100% cotton works)
Needle to sew in ends with
Abbreviations:
-SL.ST = Slip Stitch
-SC = Single Crochet
-HDC = Half Double Crochet
-Ch = Chain

-Rnd = Round

Ch 30
Rnd 1:  skip first ch, sc 1 in each ch (29)
Rnd 2 – 40: ch 1, using the Split Single Crochet Stitch (how to video above), sc 1 in each (29)
*For edging*
Rnd 41: On the edge of the pad (the sides of Rnds 1-40), hdc 1 in first, sl.st in next, repeat until you reach end (40 [20 hdc, 20 sl.st])
Rnd 42: Repeat the process (hdc 1, sl.st 1) down the chs made in the beginning (your basically just continuing this pattern in each Rnd and stitch around your pad) (≈30)
*For hanging loop*
At the end of Rnd 42, ch 8 and sl.st 1 in last st used
Rnd 43: Repeat process in Rnd 41
Rnd 44: Repeat process in Rnd 42, when you reach the end, cut, pull through and sew into your project to hide the end

Now you can safely rest pots and pans without worrying about burning your table!

P.S. Don’t really use crummy yarn for this, it could easily melt if you use a low grade acrylic or polyester yarn.

Fat-free and calorie-free cupcakes!
Warning: Trying to access array offset on value of type null in /home1/louieslo/public_html/wp-content/themes/loops/content.php on line 35

I know what you’re thinking… “Haven’t I seen this before on sweetsimplestuff.com?” The answer is totally yah, but some people haven’t yet so here it is yet again, a free pattern for some really quick and easy Crocheted Cupcake Coasters (I sure to love alliterations).

These cupcakes are for sale in my Etsy store here!

 Here are some photo’s:

Materials:
(basically any 100% cotton works)
Needle to sew in ends with

Abbreviations:
-SL.ST = Slip Stitch
-SC = Single Crochet
-HDC = Half Double Crochet
-DC = Double Crochet
-Ch = Chain
-Rnd = Round

In color A (brown) Ch 10
Rnd 1: Sc 8, turn.
Rnd 2: ch 1, sc 8 in back stitches
Rnd 3 – 14: Repeat x 12 (14 total)
Change to color B
Rnd 15: ch 1, Sc 1 in the sides of each row 14, turn. [Don’t cut, Leave color B attached] (14)
Change to color C
Rnd 16: ch 1, sc 2 in first, sc 1 in next 12, sc 2 in next, turn. (16)
Rnd 17: Don’t ch, skip first st, sc 1 in next 14, stop one early, turn. (14)
Rnd 18: ch 1, sc 1 in each, turn. (14)
Rnd 19: Don’t ch, skip first st, sc 1 in next 12, stop one early, turn. (12)
Rnd 20: ch 1, sc 1 in each, turn. (12)
Rnd 21: Repeat (12)
Rnd 22: Don’t ch, skip first st, sc 1 in each, turn. (11)
Rnd 23: Repeat (10)
Rnd 24: Repeat, cut and tie off. (9)
*For Cherry, count in three stitches from top, pull through in the fourth st from end on Rnd 24…
Rnd 25: sc 1 in fourth from the end and next two, turn. (3)
Rnd 26: Don’t ch,  skip first st, sc 1 in next 2, turn. (2)
Rnd 27: Don’t ch, skip first st, sc 1 in the last st, cut and tie off. (1)
*For lining
Rnd 28: Using the color B left off and uncut from Rnd 15, pull one through the end of Rnd 15 and sc 1 in each Rnd and st around the piece, cut and tie off, sew the remainders into the piece. (≈59)

Thanks again to Brenda from Sweet Simple Stuff! You’ll be seeing a lot more blog swaps soon I hope! 🙂

Fun With Stitches: Shell Stitch
Warning: Trying to access array offset on value of type null in /home1/louieslo/public_html/wp-content/themes/loops/content.php on line 35

I’ll be honest, I’m guilty of over-using the single crochet. So when my Aunt requested a new blanket for her cat, I decided that now’s the time to stretch my wings and try something new.

This is the first of hopefully many “Fun with stitches” blog posts where I try out a new stitch and try and teach how it’s done.

This is the Shell pattern and it’s really simple actually. All you really need to know is the Treble and Double Crochet stitches.

Close up of the stitch

So here’s how it’s done:

Chain a multiple of 8 (For the blanket I made 104 chs)
Rnd 1: Skip 3 chs, tr 5 in next ch, skip 3, dc 1 in next, skip 3, tr 5… Repeat this pattern to the end, turn. (You should end on a dc)
Rnd 2: Ch 3, tr 3 in the dc of last Rnd, skip 3, dc 1 in the next st (third tr), skip 3, tr 5 in the next st (dc of last Rnd), skip 3, dc 1 in next st (third tr)… continue this pattern to end, turn.
Rnd 3 – end: Repeat Rnd 2 until end!

For my blanket I just changed colors between each Rnd. I used Lion Brand Hometown USA Yarn and a size N-13/9.00mm crochet hook.

Calorie free cupcakes?!
Warning: Trying to access array offset on value of type null in /home1/louieslo/public_html/wp-content/themes/loops/content.php on line 35

You heard right! Well, they’re not really for eating though (unless you’re a goat).

If you didn’t know, Brenda from Sweet Simple Stuff and I did a blog swap last week. Her blog consists of candy, baked goods, and lots of cute idea’s for sweets, so, for our swap, she posted some not so fat free granny squares, you can check them out here, and I posted a free pattern for my Crocheted Cupcake Coasters (that’s an alliteration for all you grammar geeks out there 😉

You can buy these coasters on my Etsy here.

Along with this free pattern I came out with a cupcake themed beanie, and the pattern for that as well!

You can get the Cupcake Beanie pattern for $4 on Ravelry or Etsy, or by simply clicking –>HERE<–