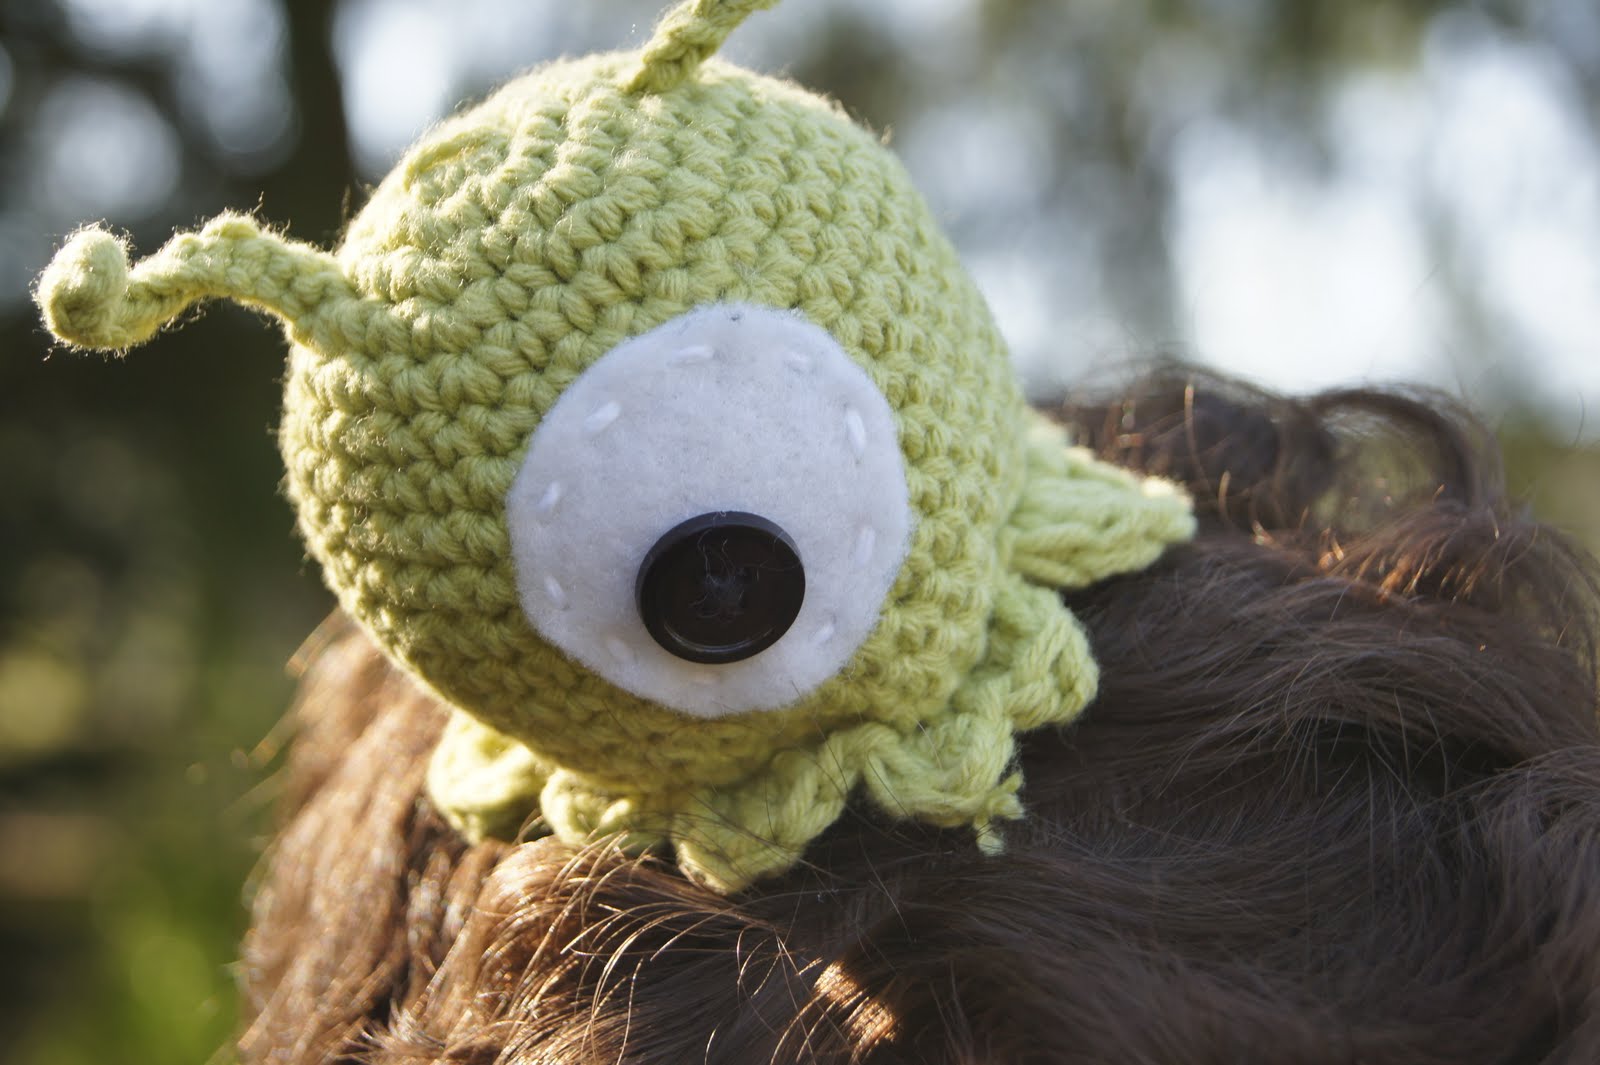
 So I’m somewhat, okay a lot of, a nerd. For those of you who arn’t or maybe didn’t know, there’s a little convention called Comic Con, and last Thursday through Sunday all the lucky people of New York had their 6th annual Comic Con. Unluckily for me I live in California, and I’m also broke 🙂 but to commemorate this event and kinda commemorate Halloween, which is just around the corner, I decided to make a nerd based crocheted item (the first of many more). For those of you who don’t know, this is known as a Brain Slug from the show Futurama. It attaches to someone’s (or something’s) head and controls them, kinda making them into a zombie like state. Any how, you can see a video of the episode with these guys here.
—————————————————————————————————————–
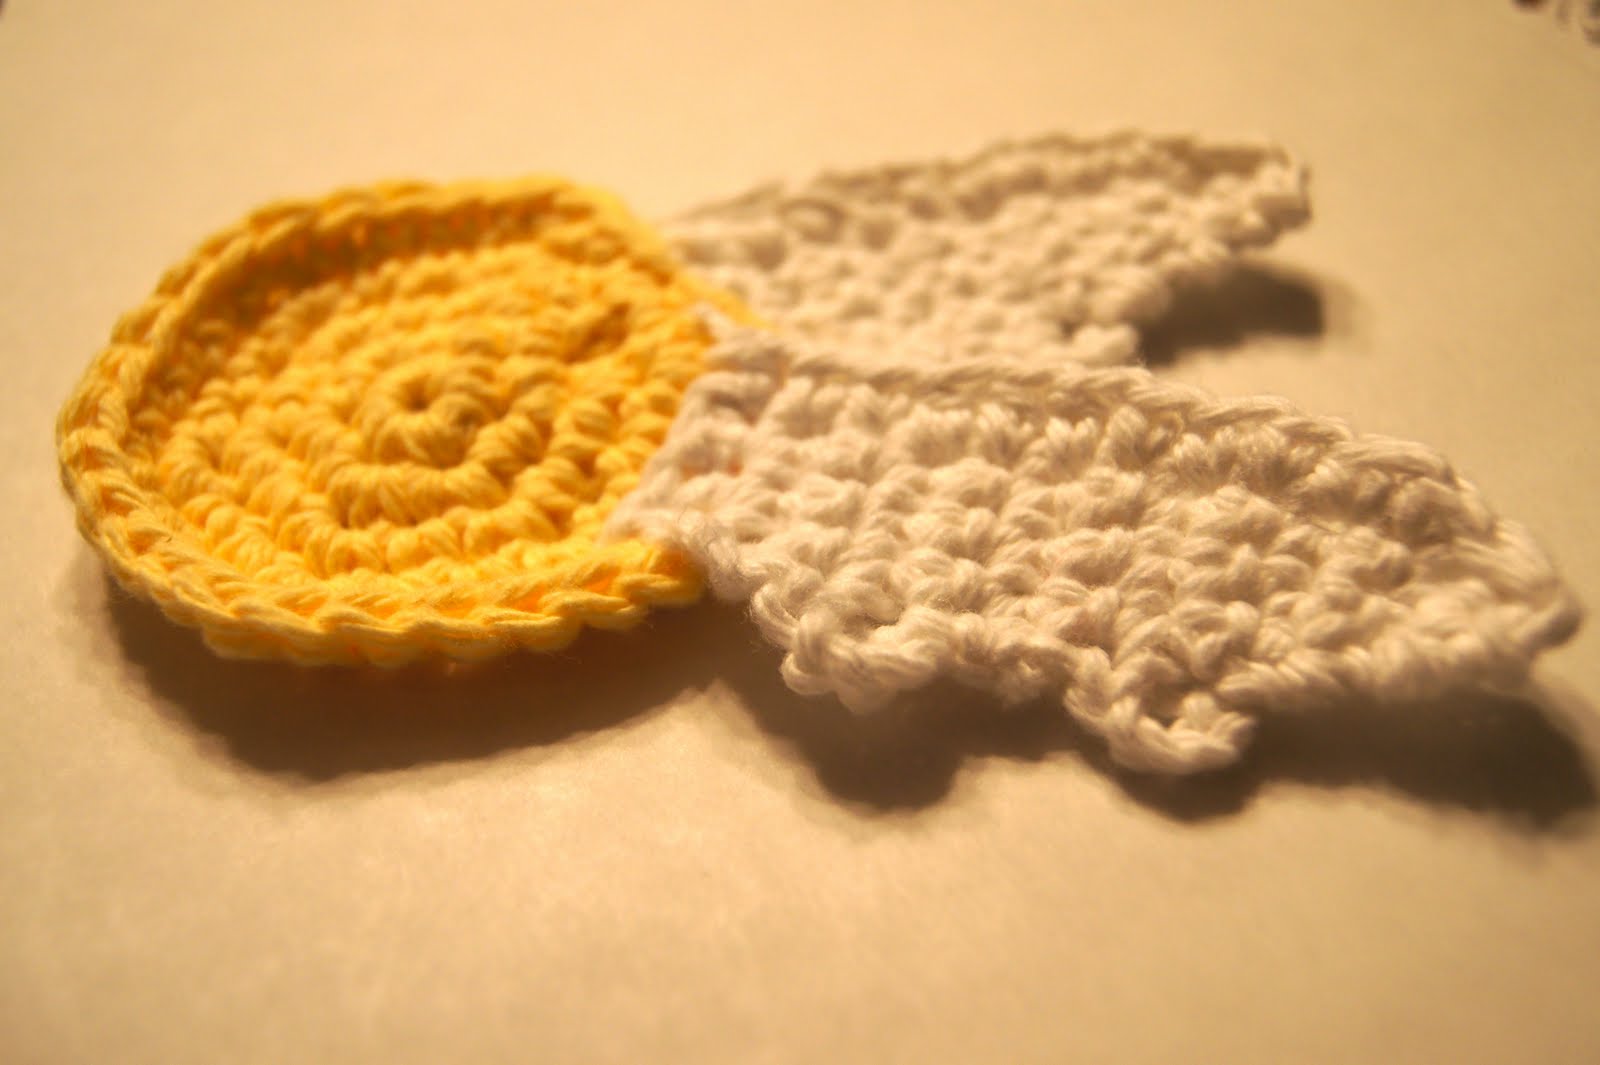
Here are some photo’s of the finished product:


Materials:
–Lion Brand Cotton Ease Lime Green
-Size US-G/4.00 mm Crochet Hook
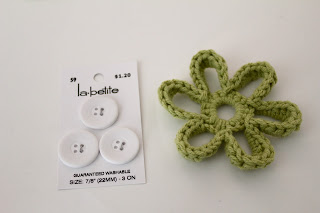
-White Felt
-Small (about 1/4-1/2″) Black Button
-A little bit of stuffing
*First make a tiny ball of yarn separate from the main ball for the antennae.
Pattern:
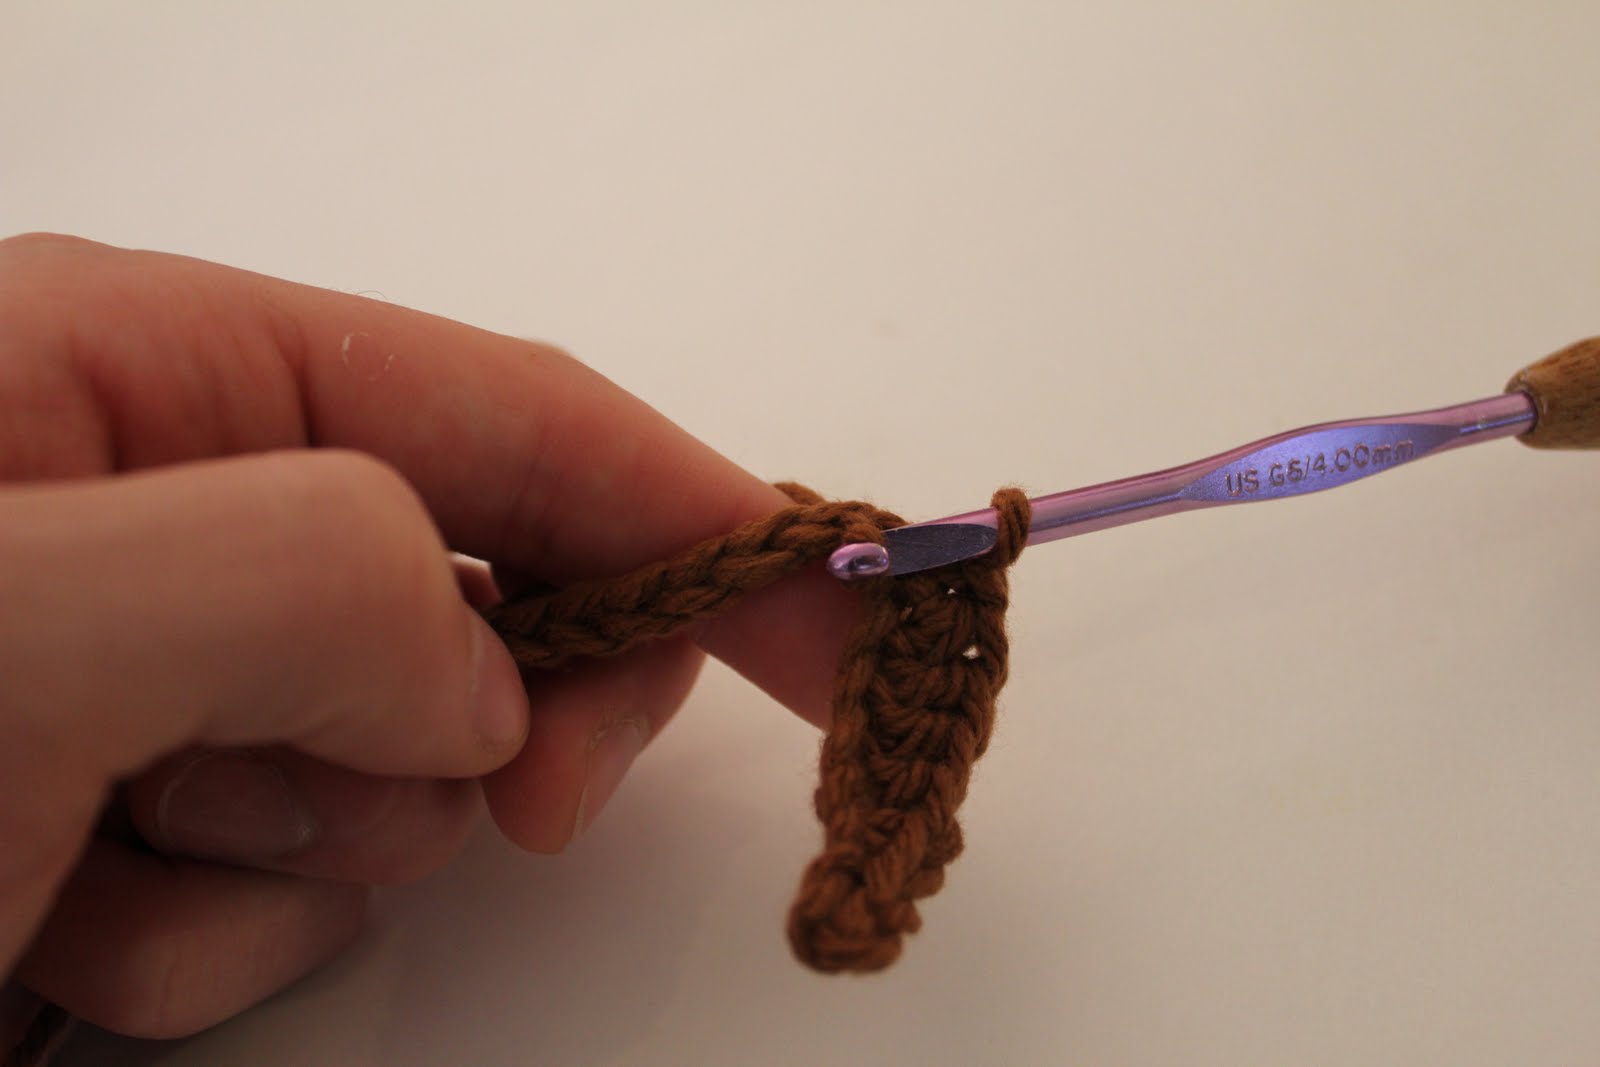
Ch 2 (DON’T TURN)
Rnd 1: sc 6 in 2nd ch from the hook
Rnd 2: sc 2 in each st (12)
Rnd 3: sc in next st, inc in next st, Repeat 6 times (18)
Rnd 4: sc in next 2 st, inc in next st, Repeat 6 times (24)
Rnd 5: sc in next 3 st, inc in next st, Repeat 6 times (30)
Rnd 6: sc in each st (30)
Rnd 7: sc in next 4 st, inc in next st, Repeat 6 times (36)
Rnd 8-17: sc in each st (36)
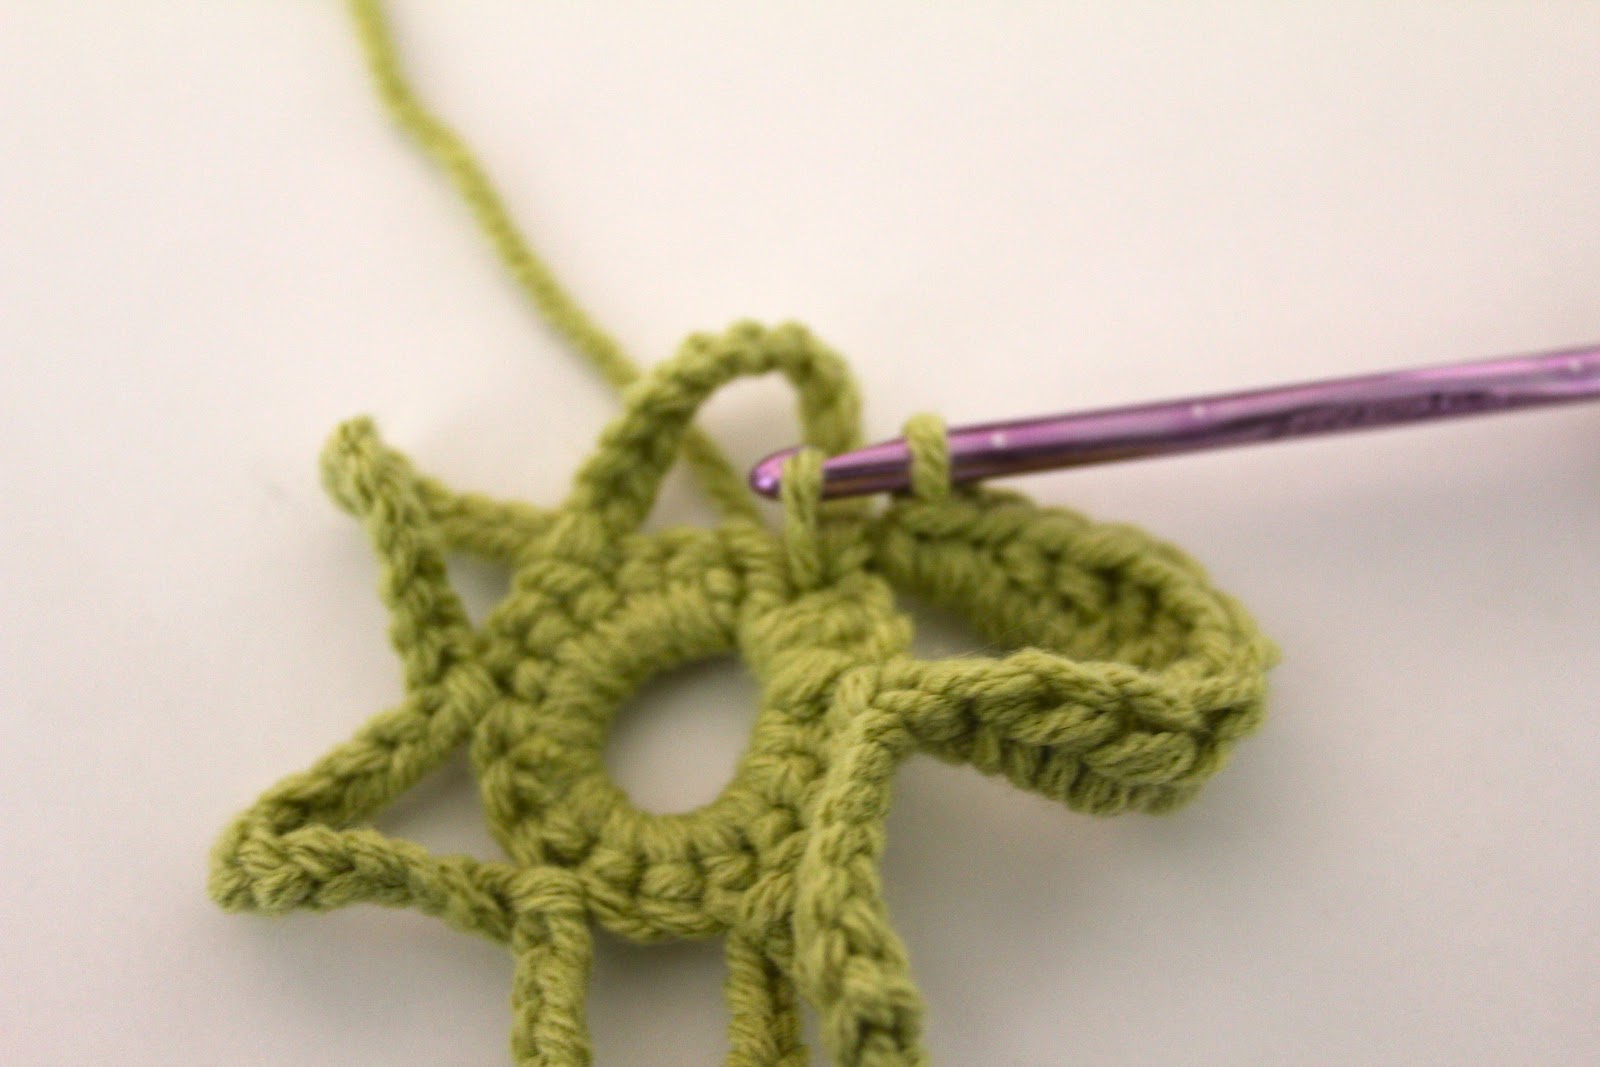
Rnd 18: (on outer stitches only) [stitches separated by commas] dc 1 tc 1 dc 1, sl.st, dc 1 tc 1 dc 1, sl.st, sl.st, sl.st, dc1 tc 2, tc 2 dc 1, sl.st, sl.st, dc 1 tc1 dc 1, sl.st, sl.st, dc 1 tc 1, tc 1 dc 1, sl.st, sl.st, dc 3, sl.st, dc 1 tc 1 dc 1, sl.st, sl.st, sl.st, dc 1 tc 2, tc 2 dc 1, sl.st, sl.st, dc 1 tc 1, tc 1 dc 1, sl.st, sl.st, dc 3, sl.st, dc 1 tc1, tc 1 dc 1, sl.st.
Wait…
Now you should find two spots on the head, where the antennae will go, make them equal distance. Choose a spot on the head and insert hook, tie a slip knot and pull it through, then insert hook in next spot directly below the first and loop over and pull through creating a ch. Now stick the hook back in the second spot and pull the rest of the yarn through the spot but not through the first ch. Then ch 10 more. Sl.st in second ch from hook and then in each ch to the bottom, tie off and pull the rest of the yarn into the middle of the body to hide the yarn. Do this twice for each antennae and curl the end a bit.
Now cut a circle out of the felt, and sew the button on before sewing the entire eye onto the body.
Now back to the body..
Rnd 19: (on inner stitches of Rnd 17) sc in next st, dec in next st (24)
*STUFF*
Rnd 20: dec all around (12)
Rnd 21: dec all around (6)
Rnd 22: keep dec around untill closed up.
You can sew on a hair clip or onto a headband to keep it in your hair, but other then that, your brain slug is done and can happily suck out all the grey brain matter it can get it’s slime on!
 I make a great zombie slave
You can buy this guy here!


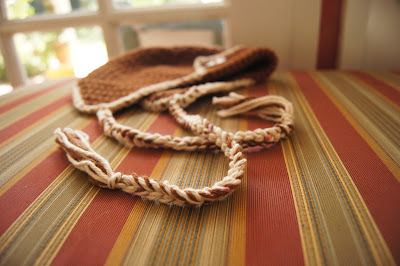
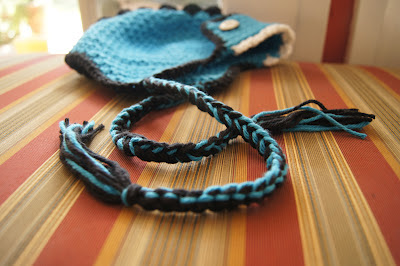
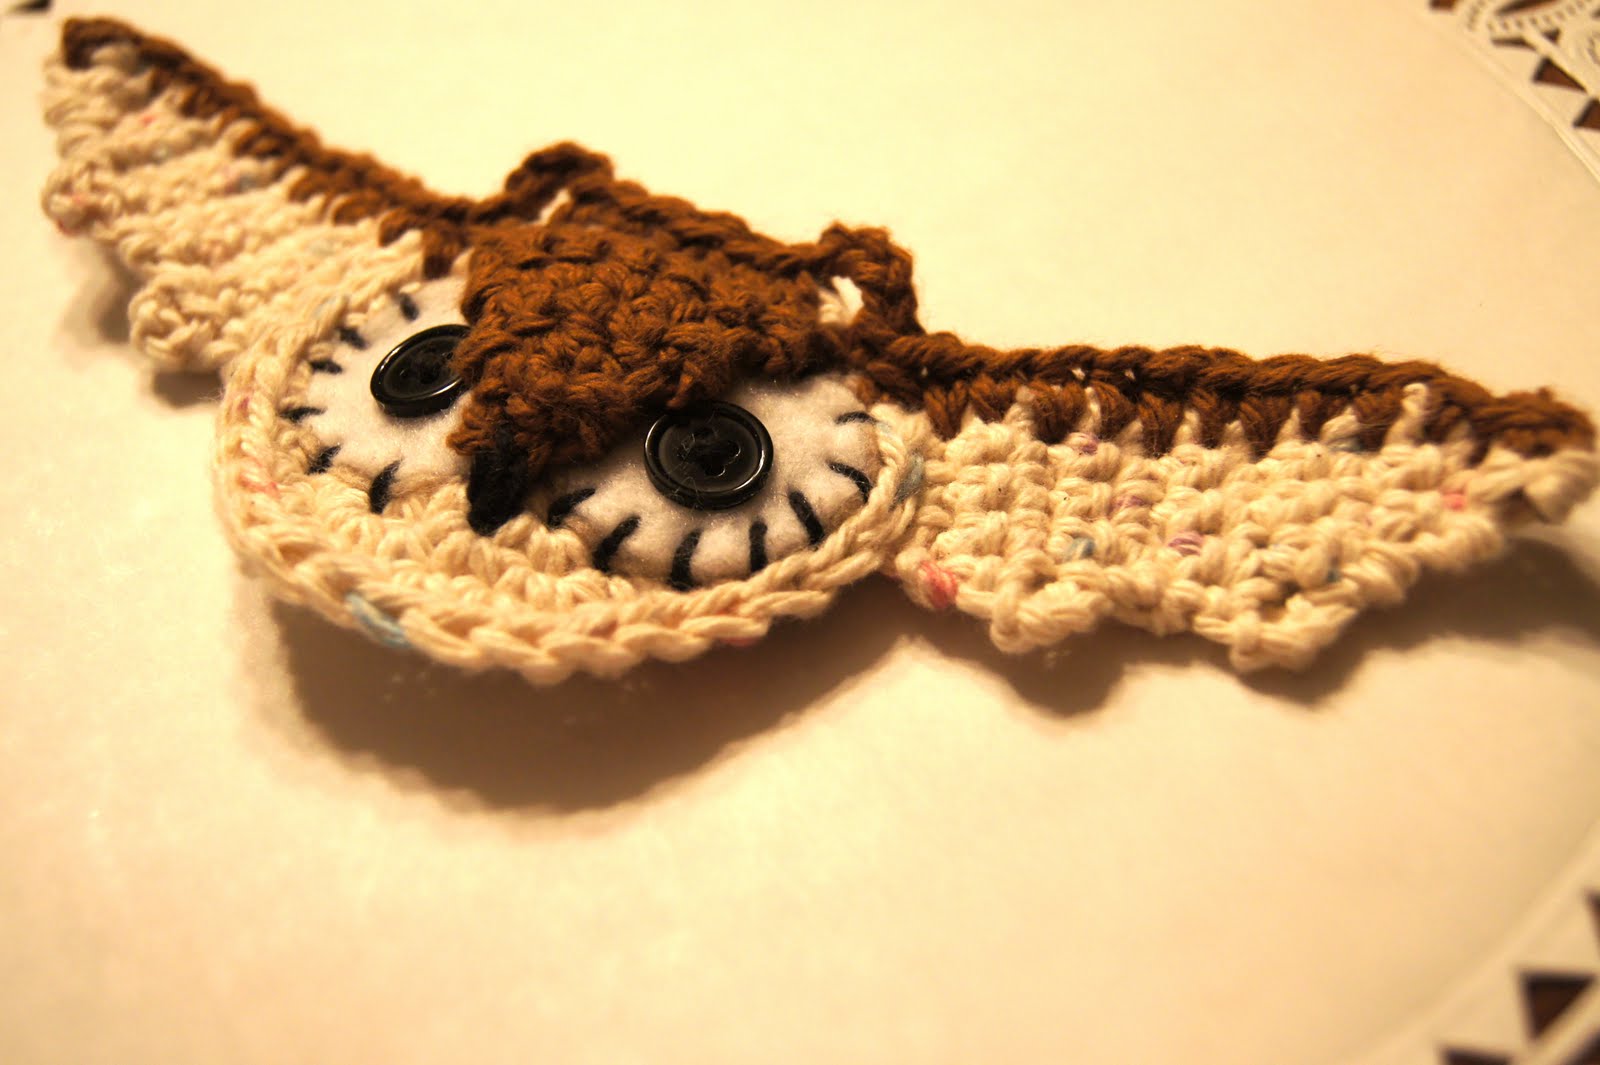
 So here’s the Aviator Earflap Hat pattern for purchase.


