I was asked last week on one of my YouTube videos how I made the eyes on last weeks star pattern so I figured, well why not make a how to video for it! So that’s what I did, and here’s my how to video on how I make different types of eyes!
Category Archives: How to
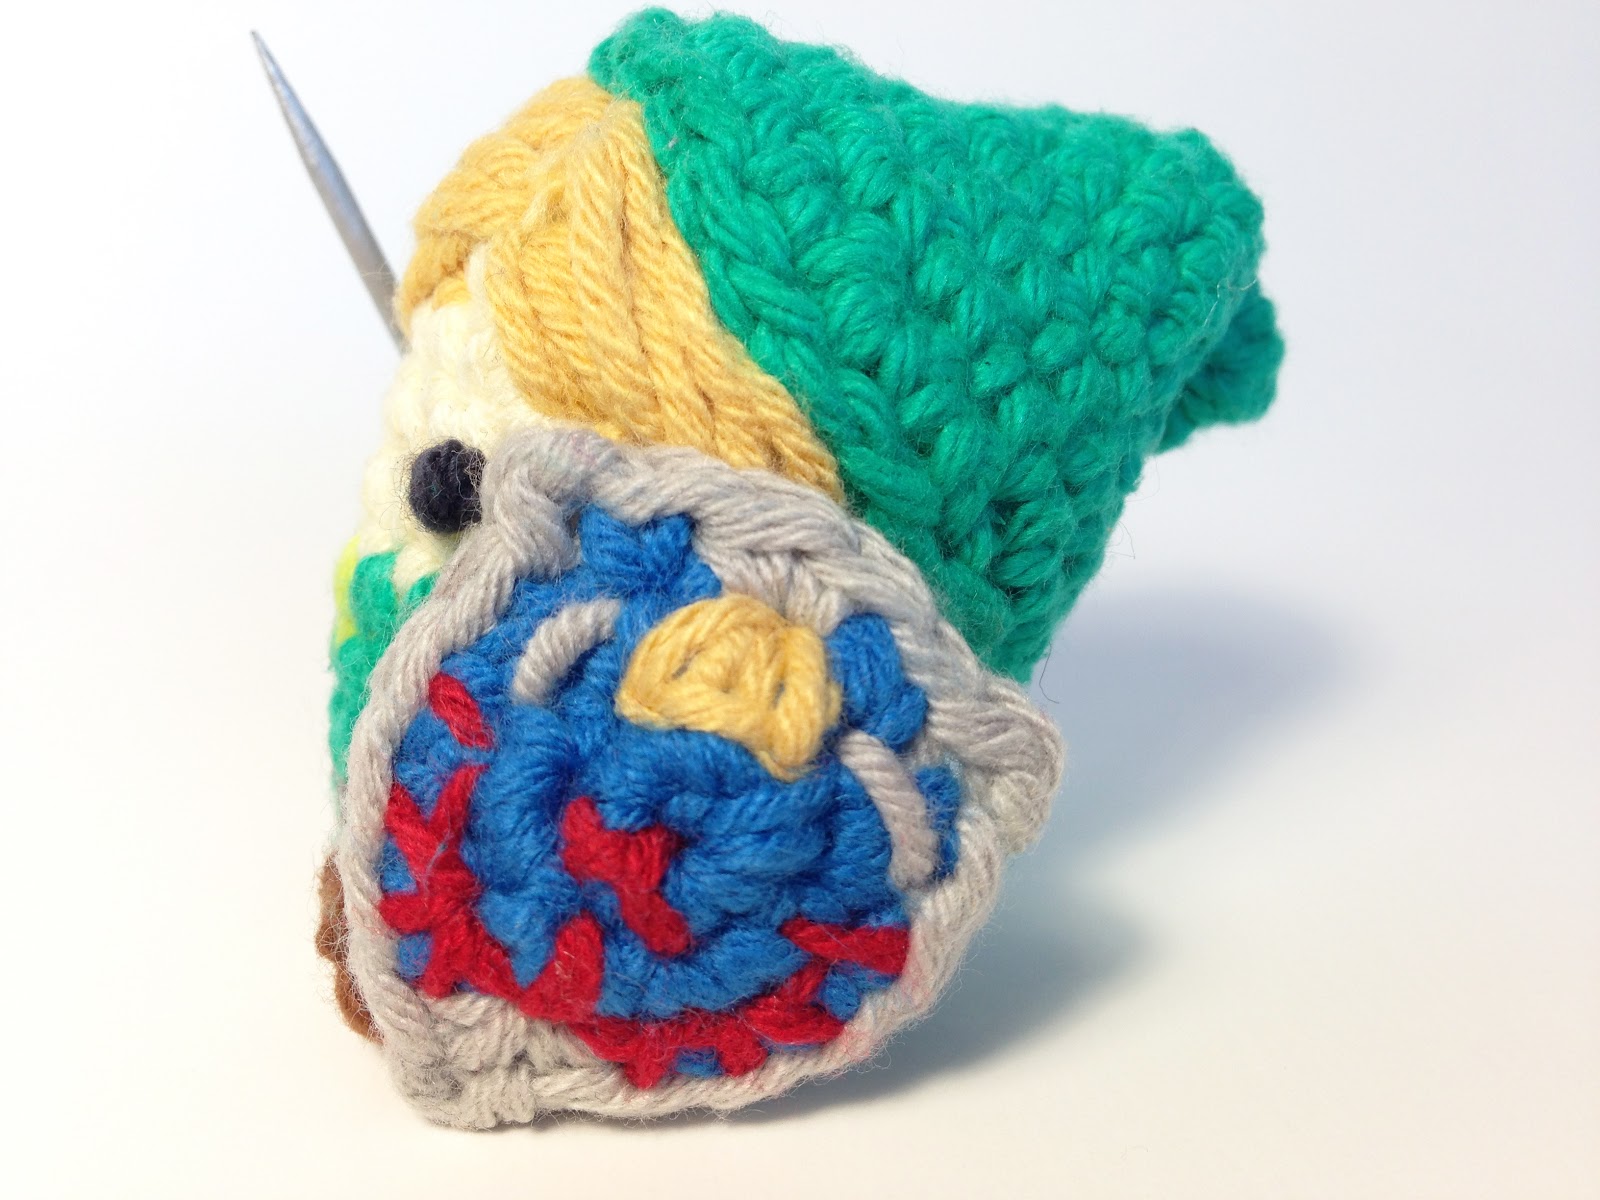
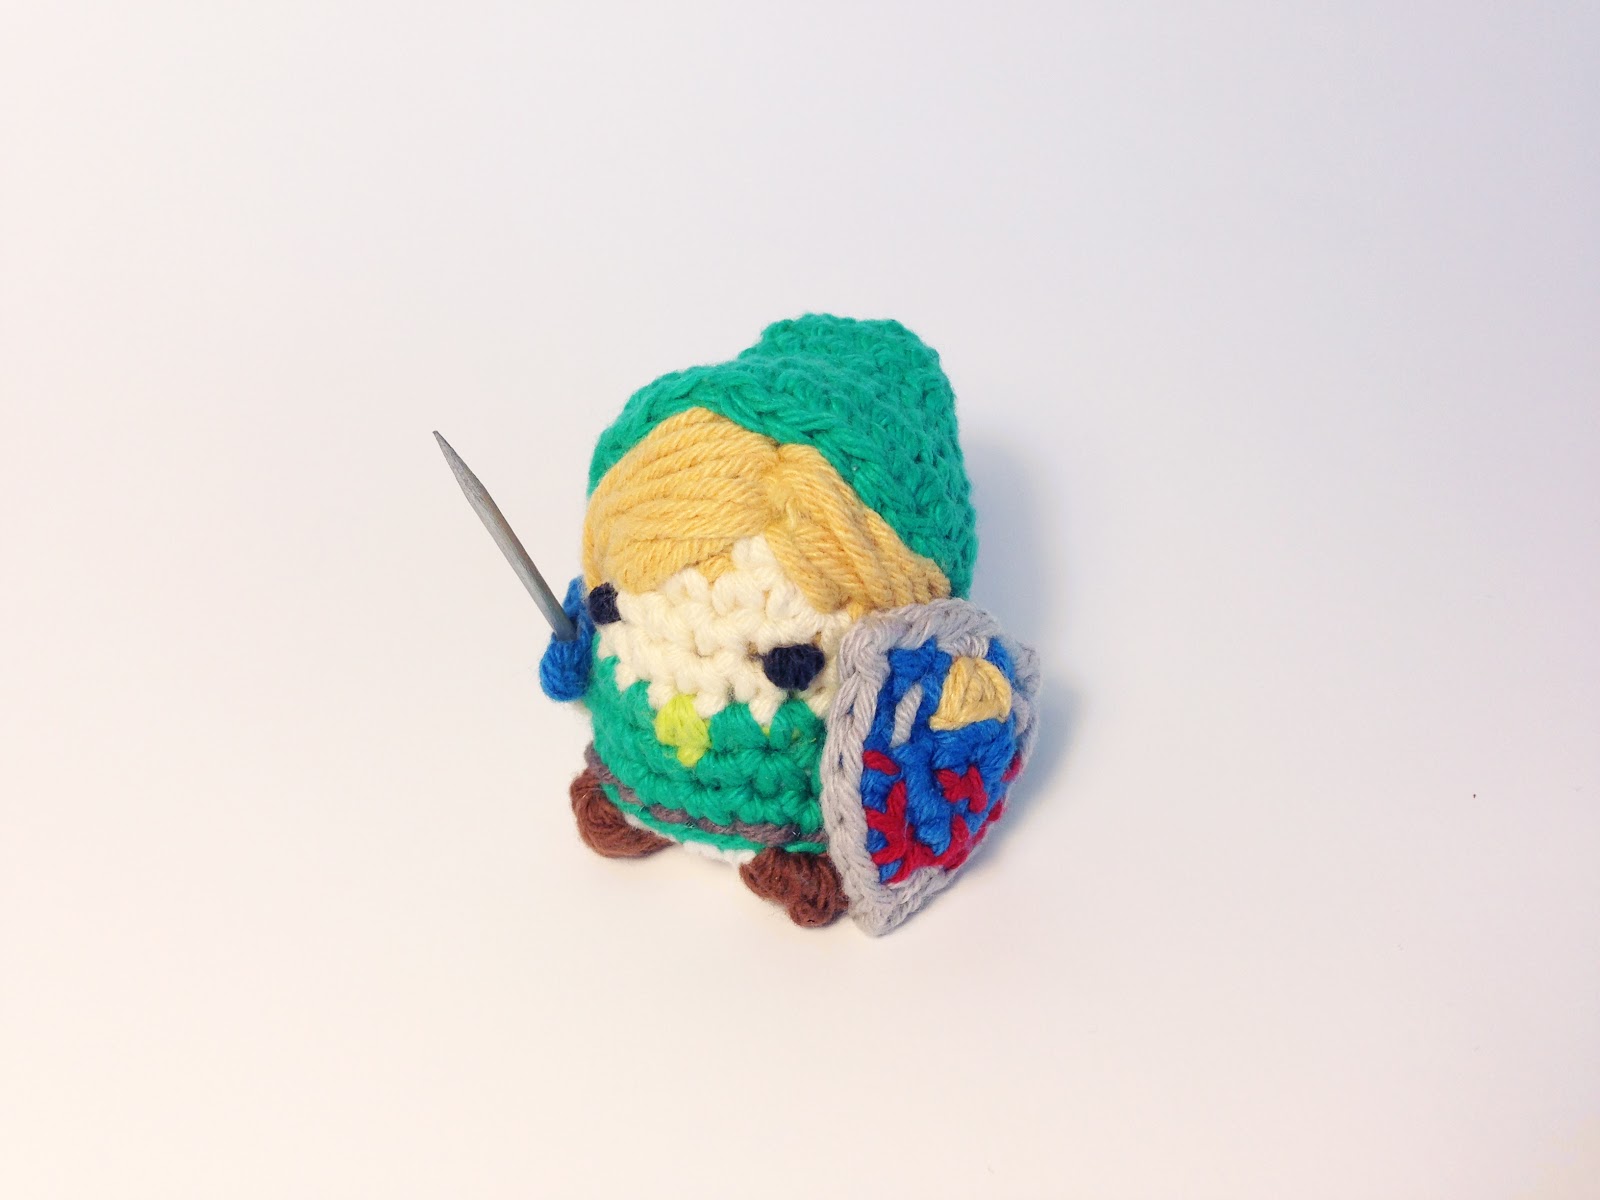
How to Crochet: a Shield
So if you didn’t know I’ve been making these little miniature guys and doing videos of me making them, well someone requested that I do Link from The Legend of Zelda, which of course, I love. So I did, and for it I had to make a Hyrule shield. I figured why not give the pattern for that shield out, so here it is, with a video and everything:
You can get the full pattern for Link here: https://www.etsy.com/listing/182124177/pdf-pattern-for-crocheted-nintendos
And subscribe or check back on Wednesday for the Watch me Crochet video for Link.
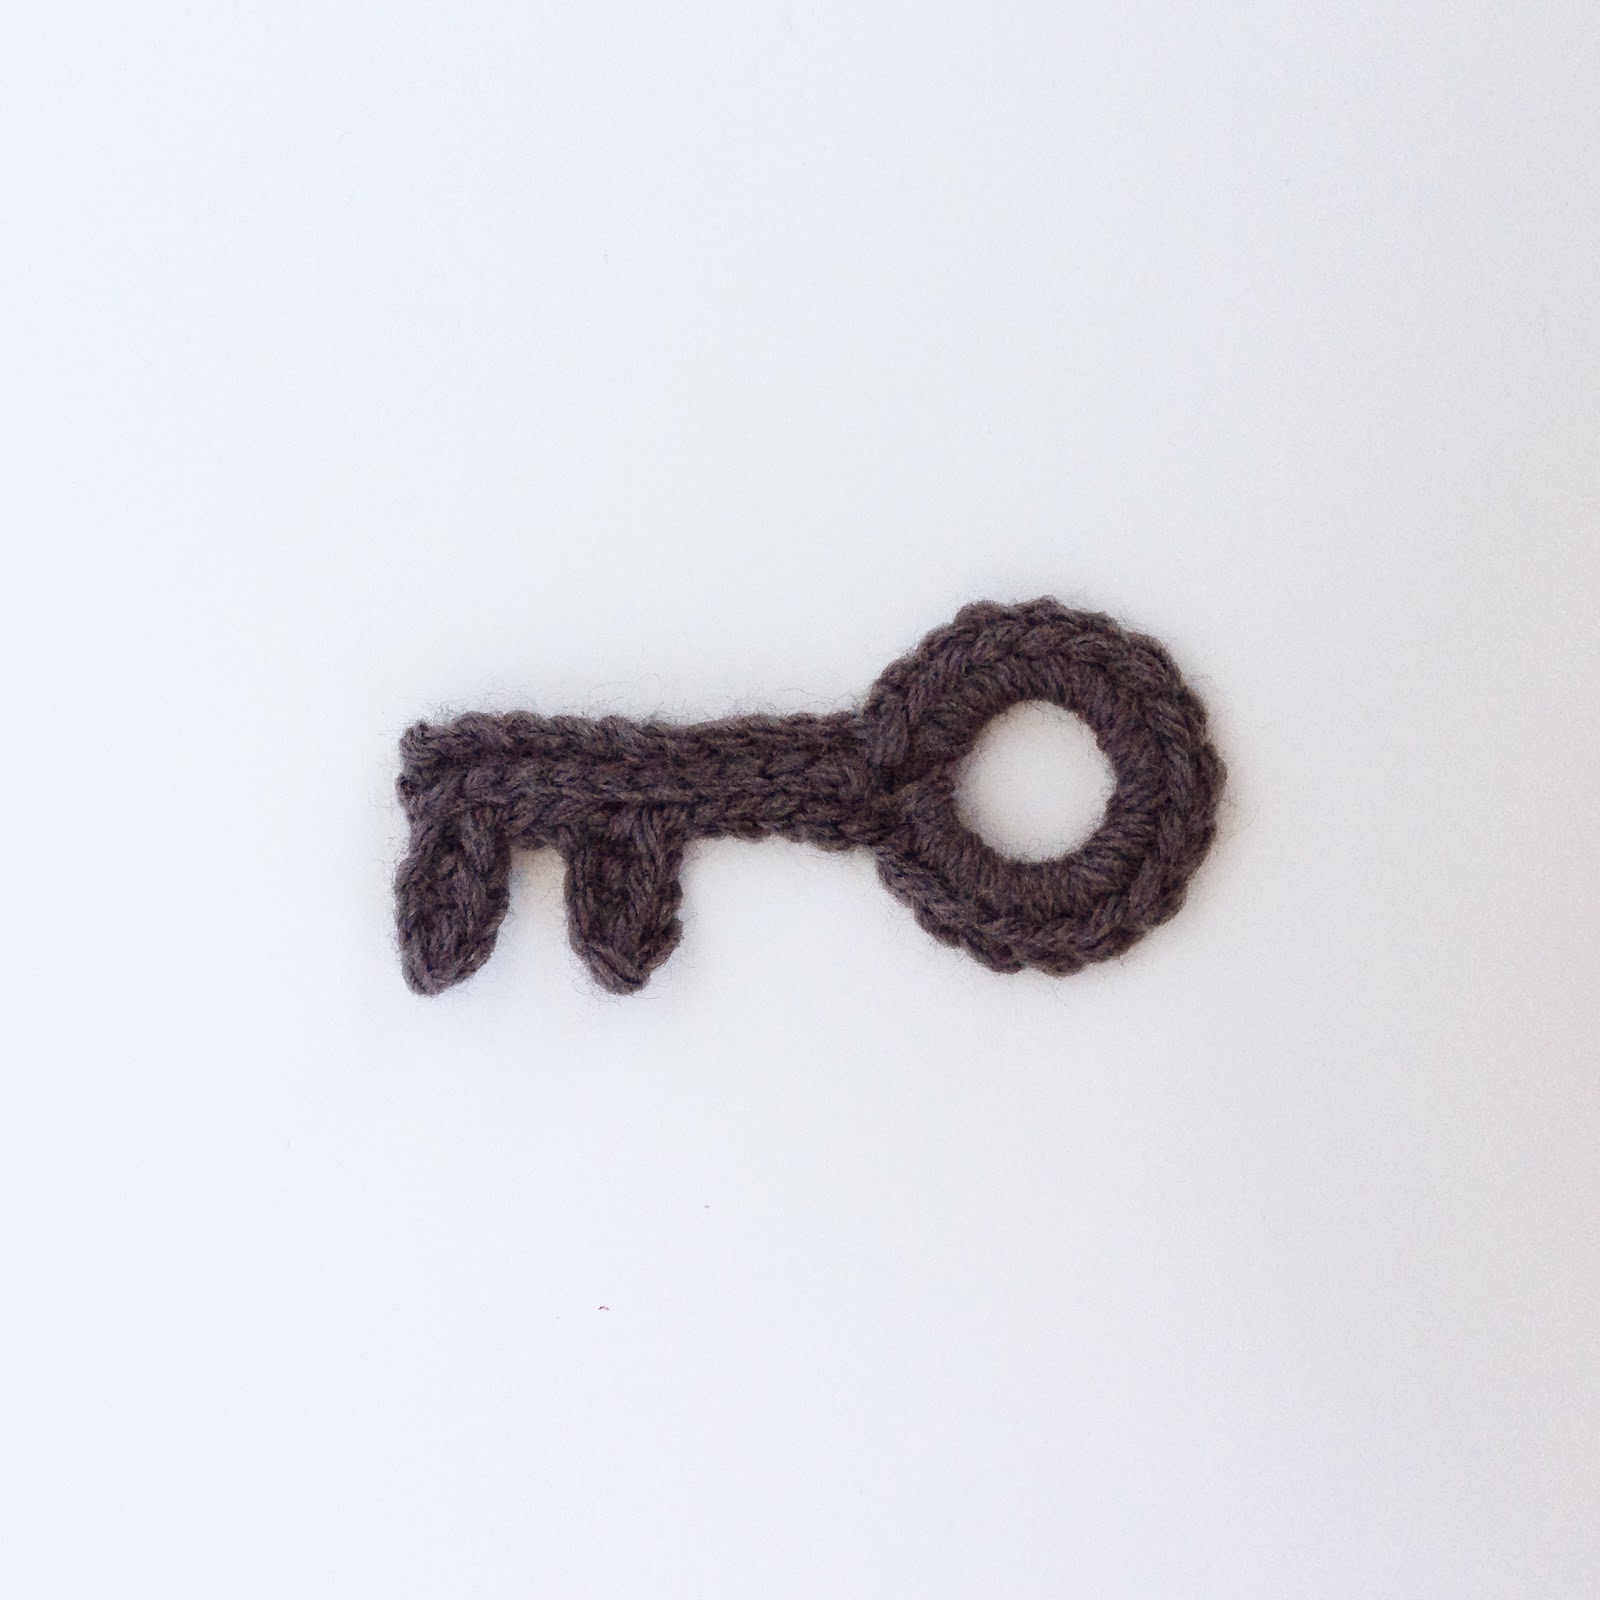
How to Crochet a Key!
Hey guys! If you didn’t know yet, I’m coming out with a new tutorial video every Monday on my YouTube. And more often than not it’s a video for a brand new pattern! This weeks pattern is a crocheted key.
Here’s the written pattern for these keys:
-Dec = decrease
Ch 9 sl.st one in the first ch made.
Rnd 1: sc 18 around the ch loop made, sl.st one in first sc made. (18 scs)
Rnd 2: ch 12, skip first ch and sl.st one in the top loops of each ch made down. sl.st one in sc made in Rnd 1 to anchor in. Turn. (12 sl.sts)
Rnd 3: Skip first sl.st, sl.st one in the top loops of each sl.st made in previous Rnd. Turn. (11 sl.sts)
Rnd 4: ch 4, skip first ch, sc one in next 2 chs, dec one into the top loops of the first sl.st down, sl.st one in the top loop of the next 3 sts, ch 4, skip first ch, sc one in next two chs, dec one into the top loops of the first sl.st down, sl.st one in the top loop of the next 6 sts, sl.st one in sc made in Rnd 1. Cut and sew in ends. (16 [4 scs, 2 decs, 10 sl.sts])
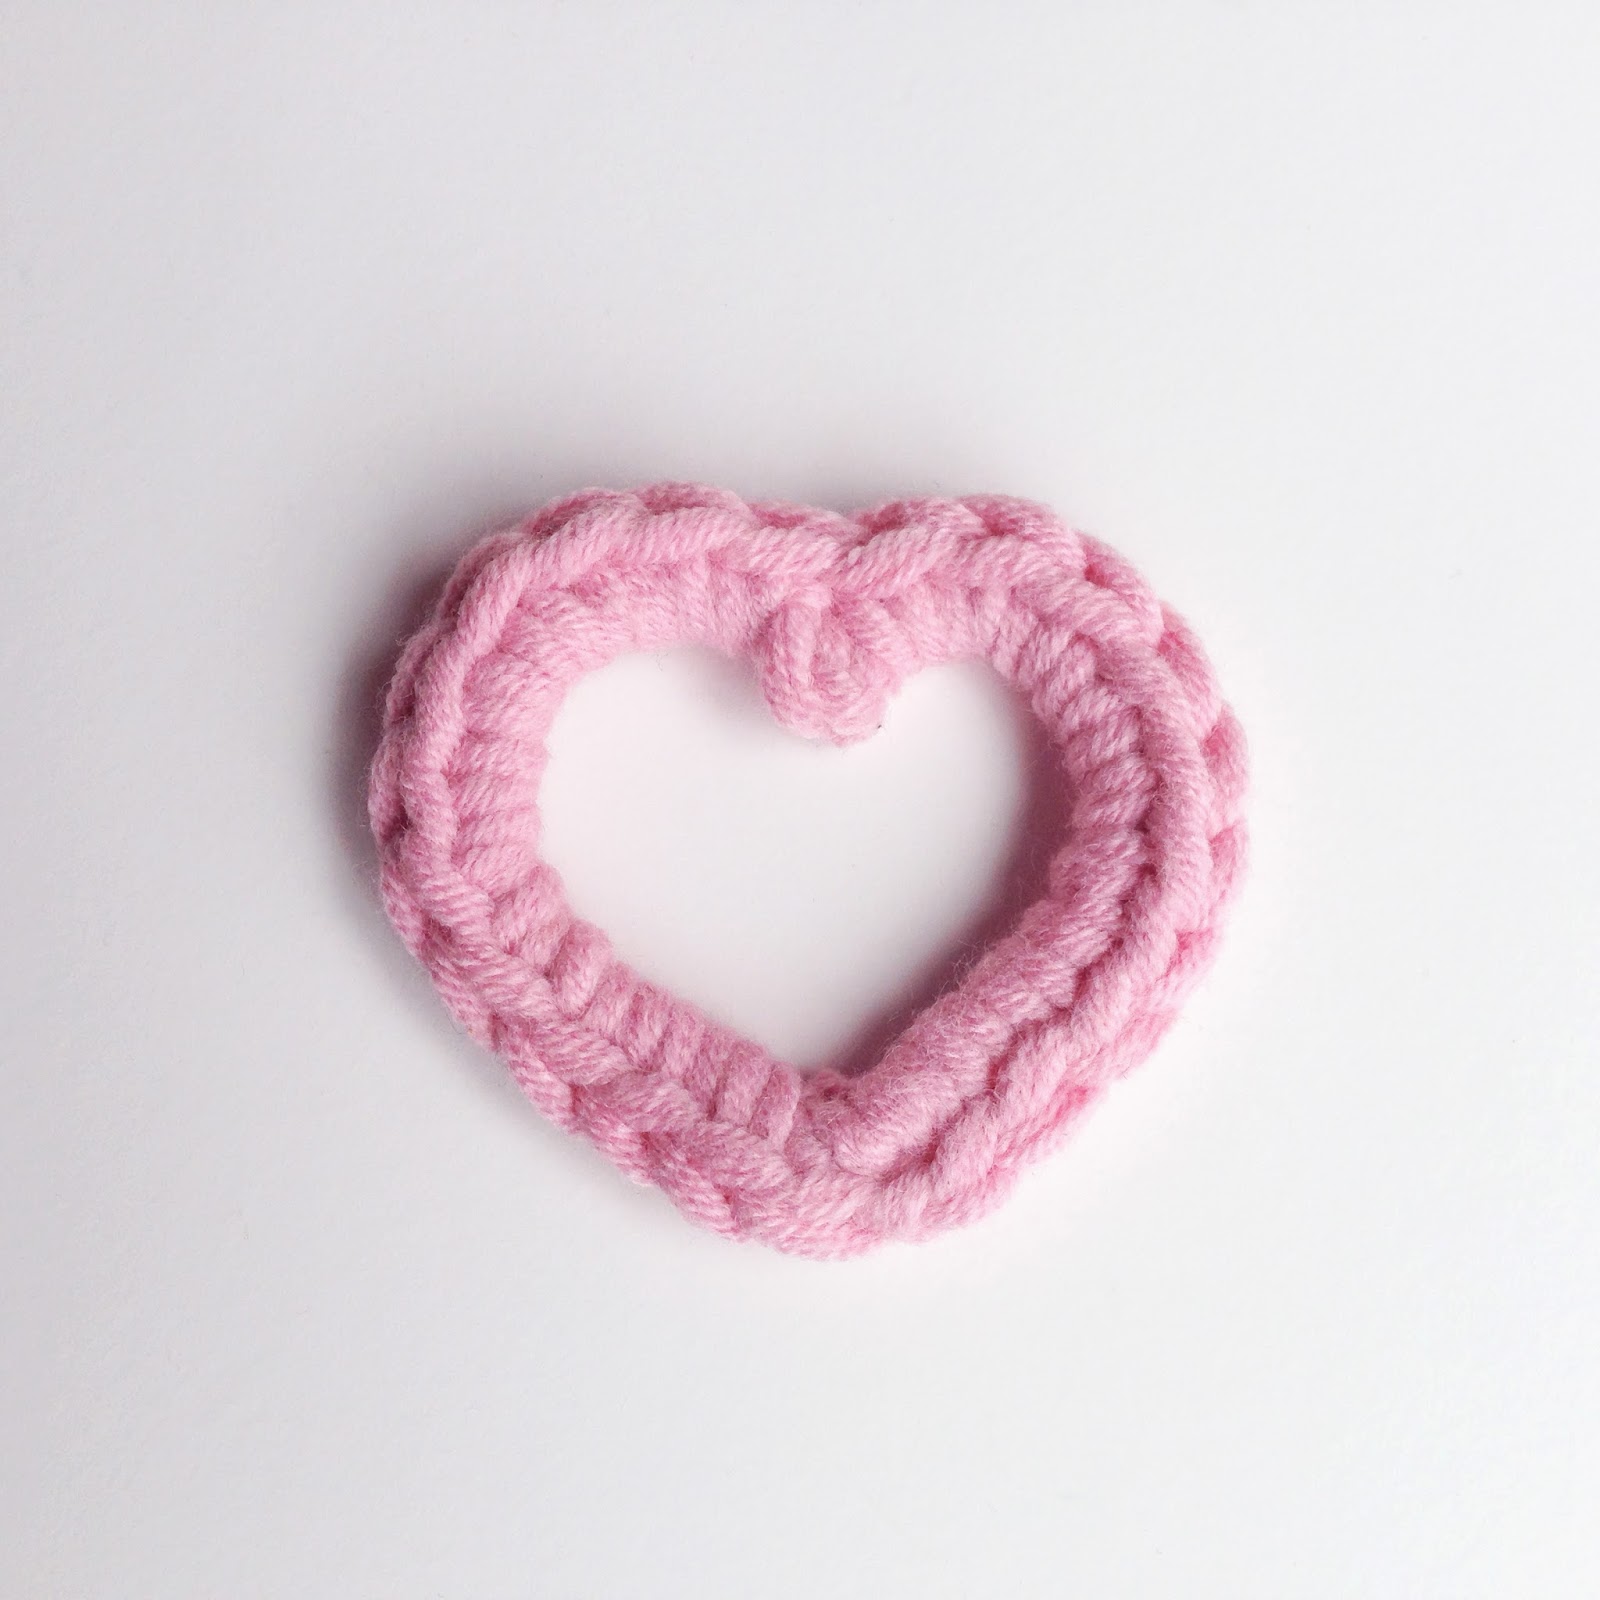
How to Crochet: Open Heart
 Materials:
–Lion Brand Baby’s First Yarn
–6.5mm Size K/10.5 Crochet Hook
-Needle to sew in ends with
Abbreviations:
-sc = Single Crochet
-sl.st = Slip Stitch
-m.p = Mini Picot (ch 2, sl.st in first ch)
-Ch = Chain
-Rnd = Round
Rnd 1: Ch 8, m.p, ch 8. Connect ch with sl.st
Rnd 2: Sc 11 around chains, skip over m.p made in Rnd 1, sc 11 around remaining chs. Sl.st one into first sc made.
Cut and pull through.
Sew ends into heart in two different directions to get a pointed end.
And that’s all! Pretty simple right? Check back next week for a new pattern!
iPhone Cases for all!!
After a long time of perfecting it, I’ve finally come out with a pattern for my iPhone cases! The pattern has the instructions for both the iPhone 4/4s and 5/5s and tons of pictures to help along with it. I hope you guys like it, it obviously took me a long time to make/perfect.
You can get the pattern from my Etsy store here or my Ravelry store here for $5.
The plan at the moment is to make a bunch of additions to the pattern for instructions on how to make the covers into BMO and Pokeballs and loads of other awesome stuff! And keep a lookout for a video on how to do the Tunisian Simple Stitch later this week!
ANFSCD: A Very Harry Halloween
 Warning ahead of time… it gets a bit.. um.. collegey in this post.
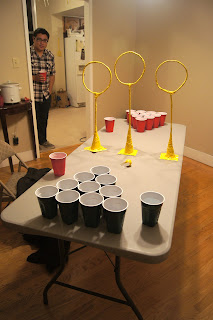
For this Halloween my friends and I decided to go a bigger then just a simple Halloween party. We decided, why not do a Harry Potter Party, and man was it a success. We had apple cider, butter beer, trivia, movies, expelliarmis shots, and of course… Quidditch Pong.
What’s Quidditch Pong Louis? Good question, Louis. Quidditch Pong is a personal invention that mixes the timely art of beer pong, and the amazing wizard sport Quidditch.
First you have to make the hoops. I made mine with hangers and yellow duct tape. Make sure you make them various sizes!
Then you have to make some butter beer. Here was my recipe:
7 parts Rootbeer or Cream Soda
1 part butterscotch schnaaps
1 part vanilla vodka (for an extra kick!)
You can find some other recipes for butter beer, including non alcoholic, here: http://www.yumsugar.com/Hot-Cold-Butterbeer-Recipe-380247
The rules for Quidditch Pong are much like beer pong with a few changes:
- Choose what team goes first with your sorting hat!
- If the quaffle (ping pong ball) goes through a hoop and makes it in the cup it counts as two (much like if the ball were to bounce)
- If the quaffle goes through a hoop the enemy team is allowed to use there bludgers (hands) to knock it out of the way.
- When there is one cup left, the snitch must be used. Trust me, this makes things a lot more difficult. I made my snitch by just wrapping a ball in yellow duct tape and attaching a few wings made out of paper, but you could easily use a yellow ping pong ball with glued on wings.
- Enjoy!!
The party went awesomely. We’ll definitely be doing this next year!
Lion Patterns!
As I promised yesterday, check out the ferocious new pattern by Lucy (Blog / Etsy), here it is, Boris the Lion!

Abbreviations:
ch = chain
st = stitch or stitches
sc = single crochet (US), double crochet (UK)
dc = double crochet (US), treble crochet (UK)
hdc = half double crochet (US), half treble crochet (UK)
BLO = back loop only
FLO = front loop only
tog = together
sc2tog = decrease by working two sc together
FO = fasten off
General instructions:
Work in rounds unless otherwise stated and do not join rounds unless told to. Use a stitch marker to mark the start of a round – a small piece of different coloured yarn placed under the stitch at the start of the round will do. To start a round, you can use the magic ring method, but I prefer (ch2, work 6 sc into 1st ch). If you work the 6 sc over the tail of yarn as well you can use that to pull the hole tight.
Work through both loops of stitches unless otherwise indicated.
You will need:
Small amount of yellow/gold yarn.
Small amount of brown yarn.
Small amount of black yarn.
Small amount of stuffing.
3.5mm (E) hook.
Special stitch instructions:
5 dc pop: popcorn stitch for legs. Work 5 dc into 1 st, take hook out leaving loop, put hook through 1st dc & pull loop through.
3 dc bob: bobble stitch for mane. YOH, insert hook into next stitch, YOH and pull through stitch, YOH, pull through 2 loops, *YOH, insert hook into same stitch, YOH and pull through stitch, YOH, pull through 2 loops, repeat from*, YOH, pull through all 4 loops on hook.

Body:
Start using yellow/gold yarn.
Round 1: Ch 2, work 6 sc into 1st ch – 6 st. Round 2: [2 sc in next st, sc in next st] 3 times – 9 st.
Round 3: Sc in each st around – 9 st.
Round 4: [2 sc in next st, sc in next 2 st] 3 times – 12 st.
Round 5: [2 sc in next st, sc in next st] 6 times – 18 st.
Round 6: Sc in each st around – 18 st.
Change to brown yarn.
Round 7: [Sc in next st, 3 dc bob in next st] 9 times – 18 st.
(Push the bobbles outwards after each round.)
Round 8: Sc in next st, [sc in next st, 3 dc bob in next st] 8 times, sc in next st – 18 st. (Optional: to make ears do the 2nd and 5th bobbles in the yellow/gold yarn).
Round 9: [Sc in next st, 3 dc bob in next st] 9 times – 18 st.
Change to yellow/gold yarn.
Round 10: [2 sc in next st] 2 times, sc in next 12 st, [2 sc in next st] 4 times – 24 st.
Round 11: 5 dc pop in next st, sc in next 19 st, 5 dc pop in next st, sc in next 3 st – 24 st.
Round 12: Sc2tog, sc in next 18 st, [sc2tog] 2 times – 21 st.
Round 13 – 15: (3 rounds) Sc in each st around – 21 st.
Stuff as far as you can and embroider face with black yarn. Use French knots to make eyes.
Round 16: Sc in next st, 5 dc pop in next st, sc in next 16 st, 5 dc pop in next st, sc in next 2 st – 21 st.
Round 17: Sc in each st around – 21 st. Round 18: [Sc2tog, sc in next 5 st] 3 times – 18 st.
Round 19: [Sc2tog, sc in next st] 6 times – 12 st.
Round 20: [Sc2tog] 6 times – 6 st.
FO, leaving length of yarn. Finish stuffing and sew up hole at end.
Tail:
Ch 5, turn, miss ch next to hook, ss in next 4 ch.
FO and sew to bottom. Sew or knot a little bit of brown yarn to the end to make a tuft.
Don’t forget to check out my free pattern of Leroy the Lion pin on her blog here!
Fun With Stitches: Split Single Crochet Stitch
 Hey guys! Sorry for the hiatus! I just moved to San Francisco for school, and it’s been a bit busy for me. So this is my first time away from home and there are a few things that I never thought about getting haha. One of which is a hot pad for pots and pans, but you know I’m not going to go buy them!
So I knew I wanted to make a hot pad, but didn’t know what stitch or pattern to use. I follow a site called New Stitch a Day, it’s this really awesome site where they post new “how to’s” for crochet and knitting each day! Every day Johnny posts a stitch with a beautifully made video that boggles my mind and makes me want to use it in my projects, so I did!
I used a stitch called the Split Single Crochet Stitch, here is a video from New Stitch a Day on how to do it:
| Here’s what the stitch looks like close up. |
———————————————————————————————————————-Materials:
Lion Brand Cotton/Lily Sugar’n Cream
Ch 30
Rnd 1: skip first ch, sc 1 in each ch (29)
Rnd 2 – 40: ch 1, using the Split Single Crochet Stitch (how to video above), sc 1 in each (29)
*For edging*
Rnd 41: On the edge of the pad (the sides of Rnds 1-40), hdc 1 in first, sl.st in next, repeat until you reach end (≈40 [20 hdc, 20 sl.st])
Rnd 42: Repeat the process (hdc 1, sl.st 1) down the chs made in the beginning (your basically just continuing this pattern in each Rnd and stitch around your pad) (≈30)
*For hanging loop*
At the end of Rnd 42, ch 8 and sl.st 1 in last st used
Rnd 43: Repeat process in Rnd 41
Rnd 44: Repeat process in Rnd 42, when you reach the end, cut, pull through and sew into your project to hide the end
Now you can safely rest pots and pans without worrying about burning your table!
P.S. Don’t really use crummy yarn for this, it could easily melt if you use a low grade acrylic or polyester yarn.
Fun With Stitches: Shell Stitch
 I’ll be honest, I’m guilty of over-using the single crochet. So when my Aunt requested a new blanket for her cat, I decided that now’s the time to stretch my wings and try something new.
This is the first of hopefully many “Fun with stitches” blog posts where I try out a new stitch and try and teach how it’s done.
This is the Shell pattern and it’s really simple actually. All you really need to know is the Treble and Double Crochet stitches.
| Close up of the stitch |
So here’s how it’s done:
Chain a multiple of 8 (For the blanket I made 104 chs)
Rnd 1: Skip 3 chs, tr 5 in next ch, skip 3, dc 1 in next, skip 3, tr 5… Repeat this pattern to the end, turn. (You should end on a dc)
Rnd 2: Ch 3, tr 3 in the dc of last Rnd, skip 3, dc 1 in the next st (third tr), skip 3, tr 5 in the next st (dc of last Rnd), skip 3, dc 1 in next st (third tr)… continue this pattern to end, turn.
Rnd 3 – end: Repeat Rnd 2 until end!
For my blanket I just changed colors between each Rnd. I used Lion Brand Hometown USA Yarn and a size N-13/9.00mm crochet hook.
Holy free pattern, Batman!!
 This Friday yet another awesome superhero movie of this summer comes out, The Dark Knight Rises, and you know I’m here to make an equally awesome pattern to commemorate it!
So some of you may know the little bat pattern I posted last year, well I used that pattern with a few differences to make today’s free pattern of a simple Batman Logo, but that’s not all…
 Iron man’s not the only one with some sweet gloves, and do to the popularity of my Iron Man Fingerless Mittens posted last month, I decided to make some Batman Ninja versions of them!
You can get the Gauntlet pattern for $3 on Ravelry, Craftsy, or Etsy, or by simply clicking –>HERE<–
————————————————————————————————————————-
Materials:
–Lion Brand Cotton/Lily Sugar’n Cream
/Lion Brand Cotton-Ease
(basically any 100% cotton works)
–Crochet Hook-Size G6 4.00mm
–Needle to sew in ends with
Abbreviations:
-hdc = Half-double Crochet
-dc = Double Crochet
-m.p = Mini Picot (ch 2, sl.st in first ch)
-Rnd = Round
Ch 16
Rnd 1: Skip first 2 chs, Hdc 1, m.p, hdc 1 in next two, sc 1, m.p, sc 1 in next three, m.p, sc 1 in next three, m.p, sc 1, hdc 1 in next two, m.p, hdc 1, sl.st 1 in same as last. Turn upside down and ch 2 (15)
Rnd 2: *On backside. (In where you put the last hdc and sl.st) Dc 1, hdc 1 in next two, sc 1 in next three, m.p, sc 1 in next two, m.p, sc 1 in next three, hdc 1 in next two, dc 1 (14)
 Cut and sew the end into the bat to hide it.
I sewed the logo onto an oval and then onto a Beanie. You can get the pattern for the beanie here and buy the Batman beanie here.
And don’t forget to check out the Batman Ninja Fingerless Mittens out on Ravelry here!
Buy the Batman Ninja Gauntlets –>HERE<–

